Looking to enhance user engagement on your WordPress site? Adding a contact form is a game changer! It’s simple and effective for connecting with your audience. Follow our step-by-step guide to create a seamless way for visitors to reach you—let’s get started!
How to Add Contact Form in WordPress (Step by Step Guide)
Are you looking to enhance your WordPress website by making it easier for your visitors to reach out to you? Whether you’re running a blog, an online store, or a portfolio site, having a contact form is essential for effective communication. It not only streamlines the process for your audience to get in touch but also helps you capture valuable leads. In this step-by-step guide, we’re going to walk you through the process of adding a contact form to your WordPress site. Don’t worry if you’re not tech-savvy; we’ll break it down into simple, easy-to-follow instructions. By the end of this article, you’ll have a fully functional contact form that enhances user experience and keeps those inquiries rolling in. Ready to connect with your audience like never before? Let’s dive in!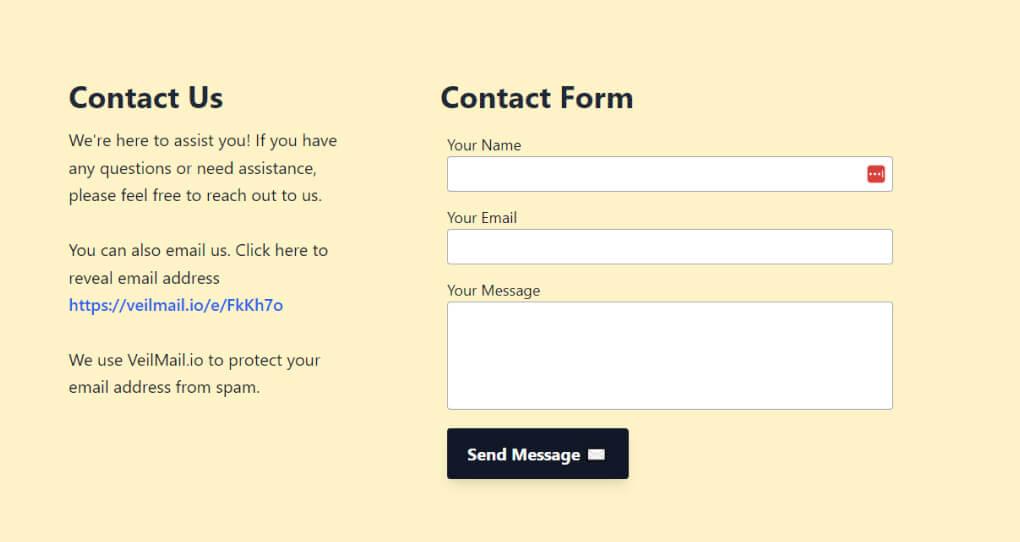
Understanding the Importance of a Contact Form for Your Website
A contact form is more than just a simple tool; it serves as a vital bridge between you and your audience. By incorporating a contact form on your website, you open up a direct line of communication that can significantly enhance user engagement and trust. Here’s why this feature is essential:
- Streamlined Communication: A contact form allows visitors to reach out easily without the hassle of searching for your email address or phone number. This convenience encourages more people to get in touch.
- Data Collection: Every time someone fills out your contact form, you gather valuable information that can help you understand your audience better. This data can be used to tailor your services, create targeted marketing campaigns, and improve user experience.
- Enhanced Security: Using a contact form can protect your email from spam bots. Unlike displaying your email address publicly, a form minimizes the risk of unsolicited emails.
- Professionalism: A well-designed contact form gives your website a polished look. It signals to visitors that you value their input and are ready to engage with them.
Moreover, implementing a contact form can lead to higher conversion rates. When users feel that they can easily reach you, they are more likely to inquire about your products or services. To illustrate this point, let’s take a look at the following table:
| Action | Before Contact Form | After Contact Form |
|---|---|---|
| Visitor Inquiries | Limited | Increased |
| Spam Emails | High | Low |
| User Satisfaction | Average | High |
Incorporating a contact form offers numerous benefits that can help your website thrive. It’s not just about receiving messages; it’s about creating a user-friendly experience that fosters trust and builds lasting relationships with your audience. So, when you’re designing your WordPress site, don’t overlook this crucial element!
Choosing the Right Contact Form Plugin for Your Needs
Choosing the right contact form plugin for your WordPress site can significantly improve user experience and streamline communication. With numerous options available, it’s essential to consider a few key factors to ensure you select a plugin that meets your specific needs.
Here are some features to look out for:
- Ease of Use: Look for plugins with a user-friendly interface. A drag-and-drop builder is often ideal, allowing you to customize your forms without needing coding skills.
- Compatibility: Ensure that the plugin is compatible with your current WordPress theme and any other plugins you are using. This helps prevent conflicts and maintains your site’s functionality.
- Customization Options: The ability to customize fields, layout, and design can help align your forms with your brand identity. Choose a plugin that offers robust options for personalizing your forms.
- Spam Protection: Implementing effective spam protection features, such as CAPTCHA or honeypot techniques, is crucial for maintaining form integrity and preventing unwanted submissions.
- Integration Capabilities: If you use other tools for CRM, email marketing, or payment processing, look for a plugin that easily integrates with these platforms to streamline your workflow.
Popular Contact Form Plugins Comparison:
| Plugin | Features | Pricing |
|---|---|---|
| Contact Form 7 | Simple, flexible, free | Free |
| WPForms | Drag-and-drop builder, templates | Starts at $39.50/year |
| Ninja Forms | Customizable, add-ons available | Free with paid add-ons |
| Gravity Forms | Advanced features, integrations | Starts at $59/year |
When choosing your plugin, consider your long-term needs. A free plugin may suffice for a simple website, but if you foresee growth or more complex requirements, investing in a premium option could save you time and hassle later.
Lastly, don’t forget to read reviews and testimonials. They provide insights into user experiences and can highlight any potential issues with the plugin you’re considering. Make sure to also test out the plugin’s support channels; responsive customer service can make a big difference if you run into any problems down the line.
Installing Your Selected Contact Form Plugin with Ease
Once you’ve chosen the perfect contact form plugin for your WordPress site, it’s time to get it installed and ready to go! The process is straightforward, and you don’t need to be a tech genius to do it. Here’s how to install your selected plugin with ease:
Step 1: Access Your WordPress Dashboard
Begin by navigating to your WordPress dashboard. This is where all the magic happens, from managing posts to adding plugins. Once you’re logged in, look for the menu on the left side of the screen.
Step 2: Add a New Plugin
In the sidebar, locate the “Plugins” option, click on it, and then select “Add New.” This will take you to a page where you can search for plugins, view featured plugins, and see popular options.
Step 3: Search for Your Chosen Plugin
Use the search bar on the right side to type in the name of the contact form plugin you’ve decided to use. Once you find it, look for the Install Now button. Click it, and WordPress will start the installation process.
Step 4: Activate the Plugin
After installation, the Install Now button will change to Activate. Click on this button to enable the plugin on your site. You’ll notice a new menu item will typically appear in your dashboard dedicated to the plugin settings.
Step 5: Configure Your Plugin Settings
Now that your plugin is activated, it’s time to customize it to suit your needs. Click on the plugin’s menu item to access its settings. Here you can:
- Set up form fields
- Design the layout
- Customize notifications
- Adjust spam protection settings
Step 6: Add Your Contact Form to a Page or Post
With your contact form configured, it’s now easy to add it to your pages or posts. Most plugins provide a shortcode that you can copy and paste into the page or post editor. Simply create or edit the page where you want the form to appear and insert the shortcode.
And just like that, you’re ready to start receiving messages from visitors! Installing a contact form plugin doesn’t have to be a daunting task. With these steps, you can have your form up and running in no time, enhancing user engagement on your site.
Customizing Your Contact Form to Match Your Brand
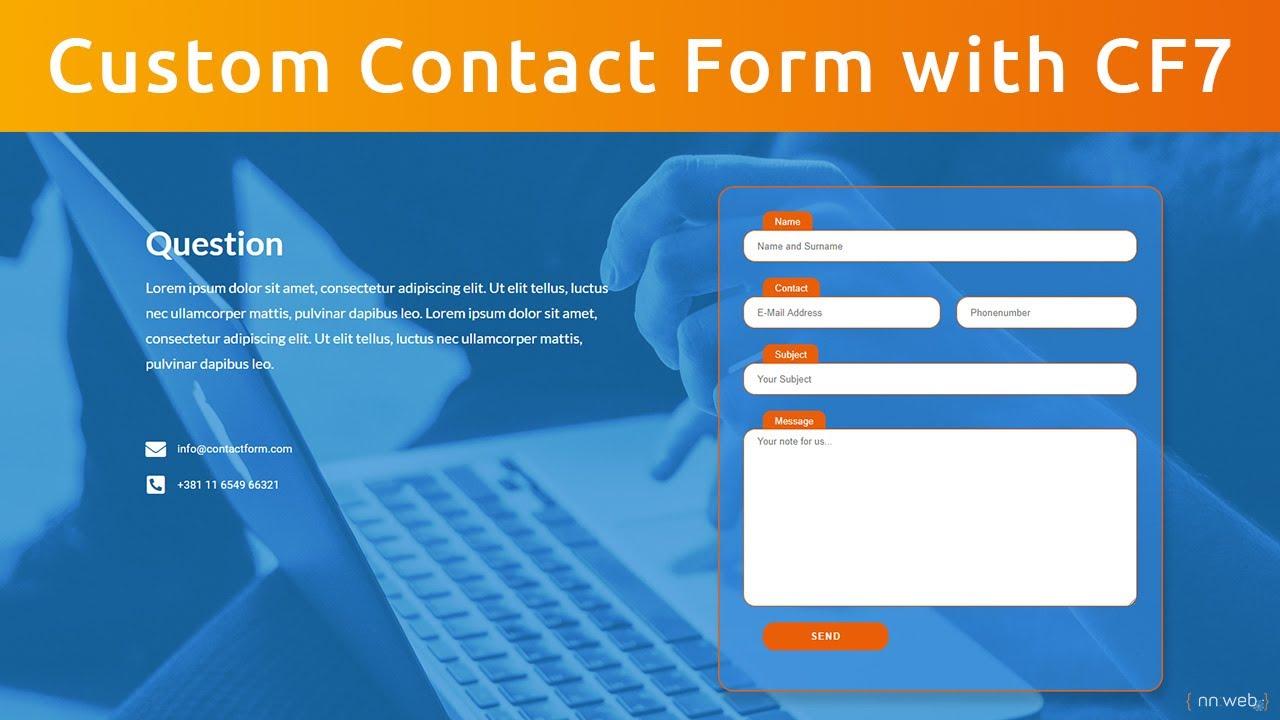
Customizing your contact form is a crucial step in ensuring it aligns with your brand’s identity. A well-designed form not only enhances user experience but also reinforces your brand’s image. Here are some effective ways to tailor your contact form to reflect your unique style:
- Color Scheme: Choose colors that match your brand palette. If your brand colors are blue and white, for example, use those shades for your form background and text. This creates a cohesive look.
- Font Style: Use the same fonts from your website on your contact form. This consistency helps users feel more connected to your brand.
- Form Layout: Keep the layout simple and intuitive. Organize fields in a way that makes sense, such as grouping related information together. For instance, you might have personal information at the top and message details below.
Additionally, consider adding custom branding elements, such as:
- Logo Placement: Place your logo prominently at the top of the form. This not only strengthens brand recognition but also makes the form feel more official.
- Custom Thank You Message: After users submit the form, redirect them to a thank you page that matches your site’s style. The message can include a personal touch, reinforcing your brand’s voice.
Here’s a simple table to illustrate some key elements to customize:
| Element | Customization Options | Impact on Branding |
|---|---|---|
| Colors | Match brand palette | Enhances visual coherence |
| Fonts | Use brand fonts | Reinforces identity |
| Logo | Include at the top | Strengthens recognition |
| Thank You Message | Personalized message | Creates a lasting impression |
Don’t forget to test your contact form across different devices to ensure it looks great on both desktop and mobile. A responsive design will keep your brand looking sharp and professional, no matter how users access your site. By taking the time to customize your contact form, you’re not just collecting information—you’re creating an experience that resonates with your audience and reinforces your brand identity.
Setting Up Notifications and Response Messages for Better Engagement
Engaging your audience starts with effective communication, and setting up notifications and response messages is a key component of this process. When potential clients or visitors fill out your contact form, they should receive timely acknowledgments and personalized messages that make them feel valued. This not only enhances their experience but also increases the likelihood of conversion.
Begin by configuring notifications to ensure that both you and your visitors are kept in the loop. Here’s how you can do this:
- Email Notifications: Set up email alerts for every submission. This way, you’ll never miss an inquiry, and your prompt response can make a lasting impression.
- Admin Alerts: Ensure that your admin email is included in the notification settings. This allows for immediate action on inquiries, enhancing overall response time.
Next, focus on crafting thoughtful response messages. These should not only confirm the receipt of the message but also create a welcoming atmosphere. Consider the following elements:
- Personalization: Use the visitor’s name in the response message to make it feel more personal.
- Thank You Note: A simple thank you can go a long way in making visitors feel appreciated.
- Expected Response Time: Let them know when they can expect a follow-up. This sets clear expectations and reduces anxiety.
Here’s a basic template for your response message:
| Field | Content |
|---|---|
| Subject | Thank you for contacting us! |
| Body | Hi [Visitor’s Name], Thank you for reaching out! We’ve received your message and will get back to you within 24 hours. Your feedback is important to us! |
| Closing | Best regards, [Your Company Name] |
test your notifications and response messages to ensure they work seamlessly. Sending a few test messages will help you identify any areas that need adjustment. By taking these steps, you will not only enhance user experience but also foster a positive image of your brand. Remember, effective communication is the cornerstone of engagement, so make it count!
Embedding Your Contact Form on Different Pages of Your Site
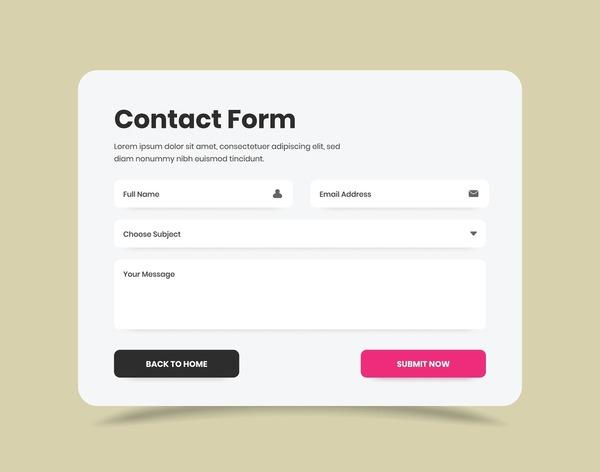
Once you’ve created your contact form, the next step is to seamlessly integrate it into various pages of your site. This not only enhances user experience but also ensures that visitors can easily reach out to you regardless of where they are on your site. Here’s how you can do it:
First, determine the best locations for your contact form. Consider placing it on:
- Contact Page: A dedicated page for inquiries.
- About Page: Let potential clients know how to get in touch while learning about you.
- Blog Posts: Encourage engagement by adding the form at the end of your articles.
- Sidebar: A persistent form in your sidebar can capture attention as users navigate your site.
To embed the contact form, you typically have two options: using a shortcode provided by your form plugin or utilizing a block editor. Most WordPress form plugins like Contact Form 7 or WPForms will generate a shortcode for you. Here’s how to do it:
[your_form_shortcode]Simply copy this code and paste it into the HTML block or the desired area of your page. If you’re using a block editor like Gutenberg, you can add a Shortcode block and paste your shortcode there. This method is quick and straightforward, allowing you to place your form wherever you like.
If you want to add your contact form to multiple pages without the hassle of repeating the process, consider using WordPress’s reusable blocks feature. After you create your contact form in one page:
- Select the block containing your form.
- Click on the three dots in the block toolbar.
- Select “Add to Reusable Blocks”.
This allows you to easily insert the same form on other pages simply by selecting your reusable block from the block library.
Additionally, you can enhance the visibility of your contact form by styling it appropriately. Here’s an example of how you can apply custom CSS to make your form stand out:
Incorporating your contact form across different areas of your website not only makes it easily accessible but also encourages more interactions. The easier you make it for visitors to communicate with you, the more likely they are to convert into loyal customers.

Testing Your Contact Form for Functionality and User Experience
Once you’ve set up your contact form in WordPress, it’s crucial to ensure it works seamlessly. A well-functioning contact form enhances user experience and increases the likelihood of receiving inquiries. Here’s how to effectively test your contact form.
Start by submitting a test message. Fill out the form with realistic information, including names, email addresses, and messages. This will help you check if the form captures all the necessary data. After submission, look out for:
- Confirmation messages: Does the user receive a thank you message or redirect to a confirmation page?
- Email notifications: Are you receiving the submitted data in your email inbox? This is crucial for timely responses.
- Error messages: Are there any errors when submitting the form, such as incomplete fields or invalid email formats?
Next, consider validating your form fields. Ensure that all required fields are marked clearly and that the form prevents submission with invalid entries. You can use placeholder text or example formats to guide users. This not only improves functionality but also enhances user satisfaction by making the form easier to fill out.
Another important area to test is responsive design. Check how the form appears on various devices, including desktops, tablets, and smartphones. A mobile-friendly form is essential, as many users will access your site on the go. Use browser developer tools or online testing tools to simulate different screen sizes.
To further improve user experience, you might consider analyzing the submission process. Are the fields logically arranged? Is the call to action (CTA) clearly visible? A/B testing different layouts or wording can provide insights into what works best. You can create a simple table to compare user feedback on different designs:
| Form Design | User Feedback | Conversion Rate |
|---|---|---|
| Design A | Clear and concise | 25% |
| Design B | Too cluttered | 15% |
| Design C | Mobile-friendly | 30% |
Lastly, don’t forget to monitor your form’s performance. Use tools like Google Analytics to track how often the form is submitted and how users interact with it. Regularly reviewing this data can highlight areas that need improvement, ensuring your contact form remains effective over time.
Troubleshooting Common Issues with Contact Forms
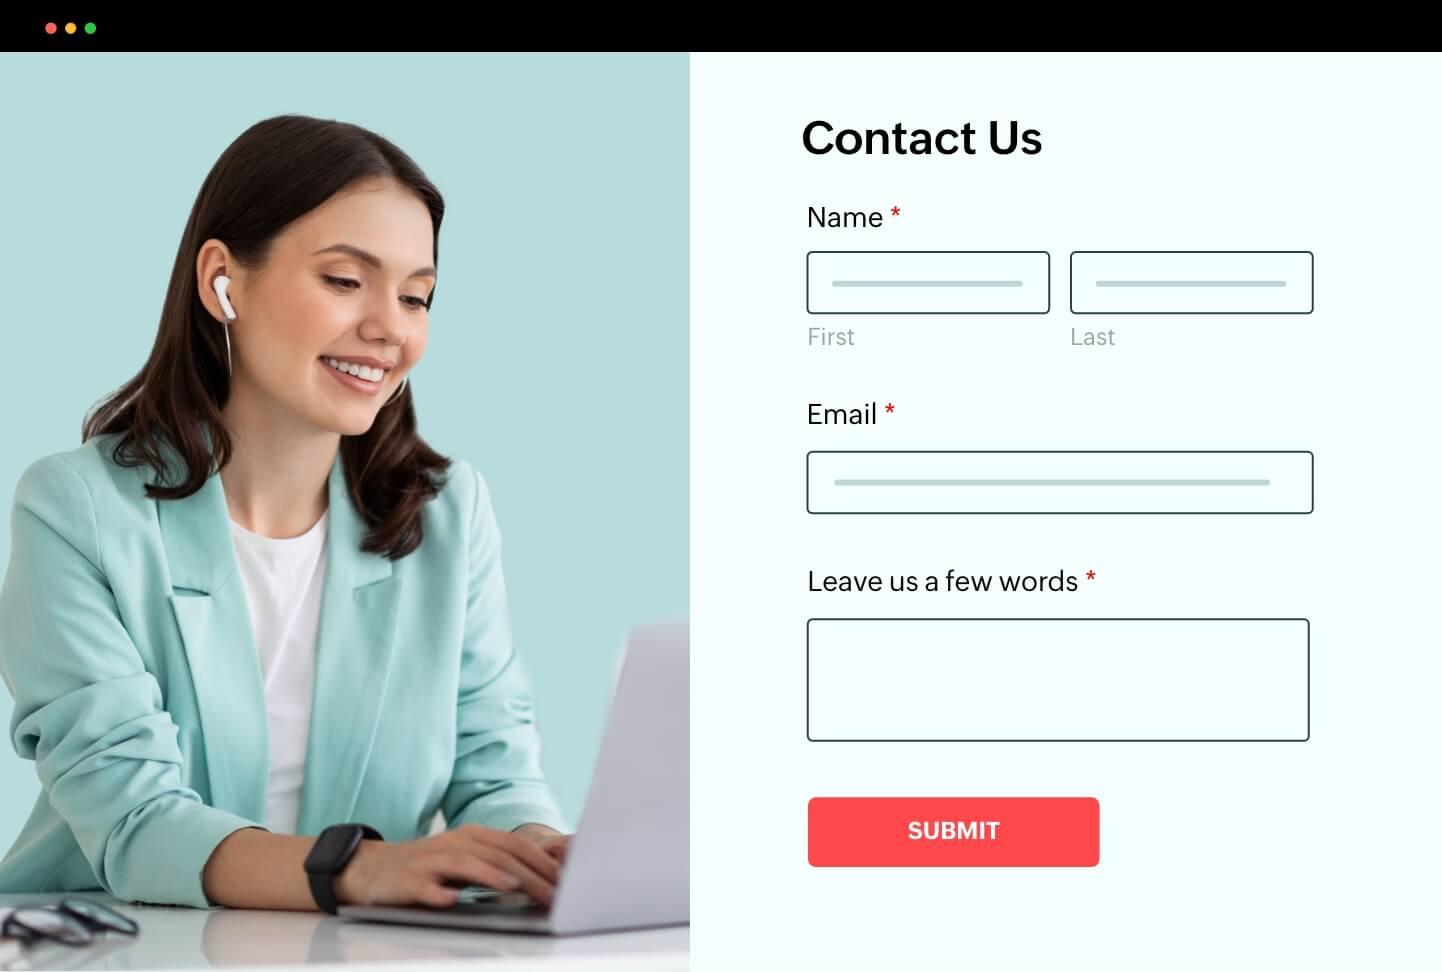
Even the most well-crafted contact forms can encounter a few hiccups. If you’re finding that your forms aren’t working as expected, don’t worry—you’re not alone! Here are some common issues and solutions to help you troubleshoot effectively.
Form Not Sending Emails
This is perhaps the most frequent issue WordPress users face with contact forms. When submissions aren’t reaching your inbox, consider the following:
- Check Spam/Junk Folder: Sometimes, emails may land in your spam folder. Always check here first.
- SMTP Configuration: Installing an SMTP plugin can enhance email deliverability. Configure it properly to ensure your emails are sent securely.
- Email Sending Limits: Some hosting providers limit the number of emails you can send in a day. Verify that you haven’t exceeded this limit.
Form Fields Not Validating
If your users are having trouble submitting the form due to validation errors, it could be due to:
- Misconfigured Field Settings: Double-check the field settings in your form builder. Ensure that required fields are marked correctly.
- JavaScript Errors: Inspect the console for JavaScript errors that may disrupt form validation. Addressing these could smooth out the user experience.
Styling Issues
Forms that don’t match your website’s look can deter visitors. To resolve styling issues:
- Custom CSS: Use custom CSS to tweak the appearance of your form. Adding styles can help your form integrate better with your site’s theme.
- Responsive Design: Ensure your form is mobile-friendly. Test it on various devices to confirm it displays correctly.
Loading Problems
Sometimes, forms can take too long to load, which may lead to user frustration. Consider these steps:
- Optimize for Performance: Use caching plugins and optimize images to improve loading times for your entire site, including forms.
- Check for Plugin Conflicts: Disable other plugins temporarily to see if there’s a conflict that slows down your form.
| Issue | Possible Solution |
|---|---|
| Emails not sending | Check spam folder and configure SMTP |
| Validation errors | Review field settings and check for JS errors |
| Styling issues | Apply custom CSS for better integration |
| Loading problems | Optimize performance and check for plugin conflicts |
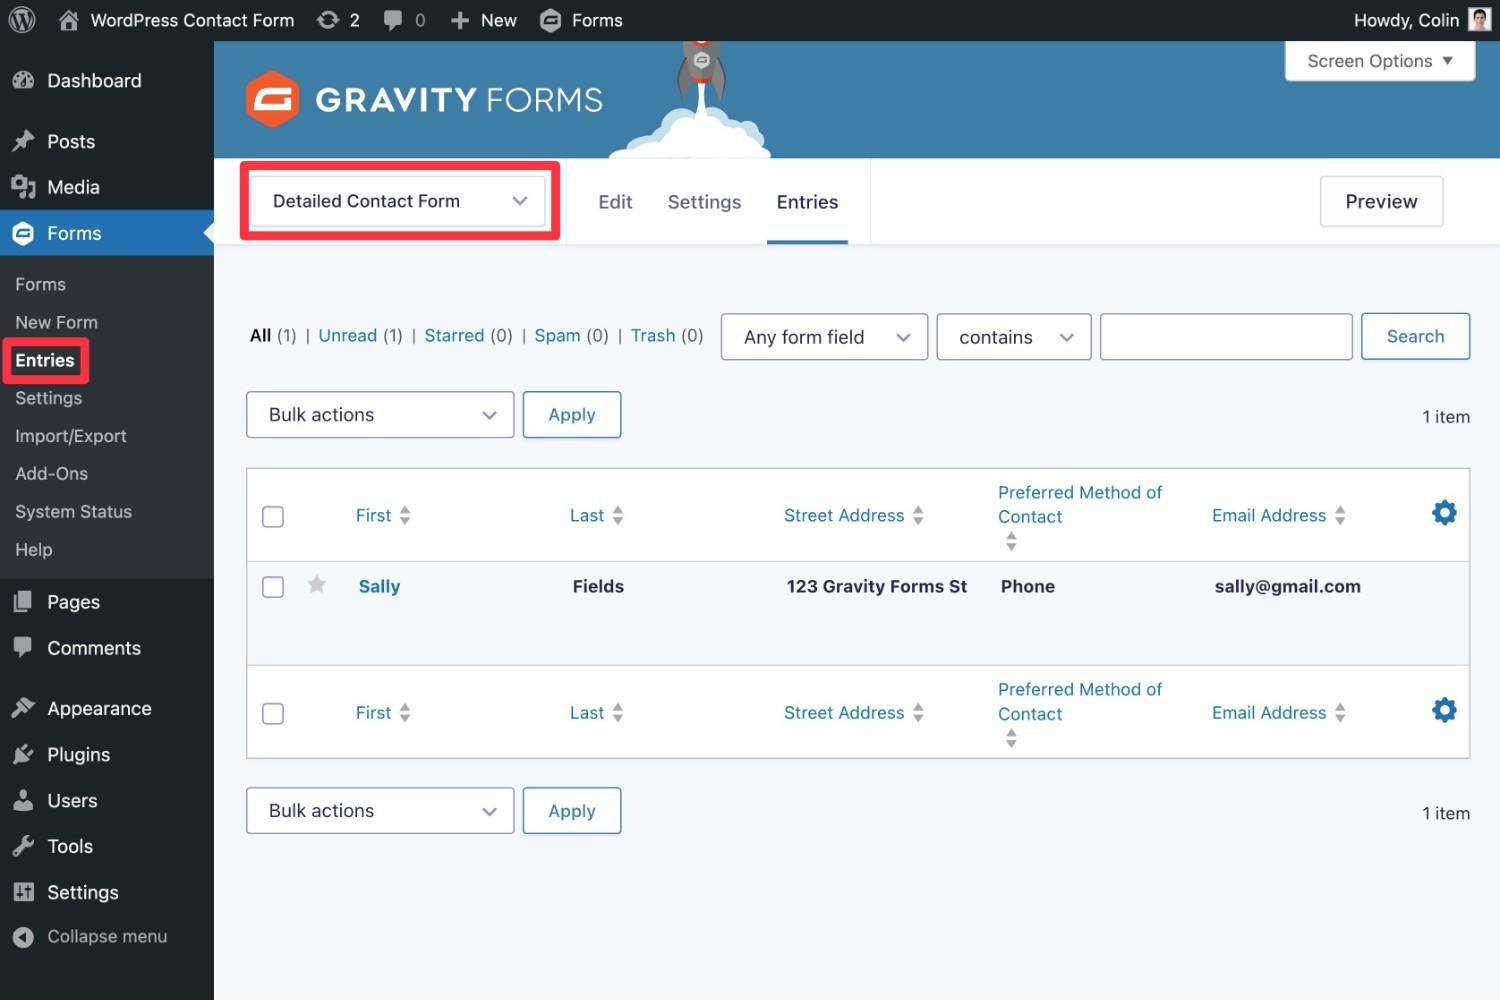
Enhancing Your Contact Form with Add-ons and Integrations
Once you’ve set up your contact form in WordPress, the next step is to enhance its functionality through various add-ons and integrations. These tools can significantly improve user experience and streamline communication between you and your visitors. Let’s explore some effective ways to elevate your contact form.
One great way to enhance your contact form is by integrating it with email marketing services. This allows you to automatically add contacts to your mailing list when they fill out the form. Popular services like Mailchimp, Constant Contact, and Sendinblue offer straightforward integrations, enabling you to reach out to your audience effortlessly. Here are a few benefits:
- Automated follow-up emails: Engage your visitors by sending them a thank-you message or promotional content.
- Segmentation: Categorize your contacts based on their preferences for targeted campaigns.
- Analytics: Track the performance of your forms and campaigns easily.
Another powerful enhancement to consider is adding CRM integrations. By linking your contact form with customer relationship management tools like HubSpot or Salesforce, you can manage leads more effectively. This integration lets you:
- Track interactions: Monitor how and when users engage with your content.
- Nurture leads: Use the collected data to personalize communication.
- Streamline sales processes: Keep your sales team informed about potential customers.
To provide a more personalized experience, consider using chatbot integrations. These tools can interact with users in real-time and assist with common queries before they even fill out the form. Here’s a quick comparison of popular chatbot tools:
| Chatbot Tool | Key Features | Best For |
|---|---|---|
| Chatfuel | Easy setup, AI capabilities | Facebook Messenger |
| Intercom | Live chat, user tracking | Customer support |
| ManyChat | Visual builder, marketing tools | Lead generation |
Lastly, don’t overlook the potential of payment processing integrations. If your contact form is related to bookings or sales inquiries, integrating with services like PayPal or Stripe can make transactions seamless. This integration not only simplifies payments but also boosts user trust and satisfaction. Here’s why:
- Security: Reputable payment processors ensure safe transactions.
- Convenience: Users can pay directly through the contact form without being redirected.
- Instant confirmation: Set up automated receipts to enhance customer experience.
By integrating these add-ons and tools, you’re not just improving your contact form, but also creating a more engaging and efficient communication channel with your audience. These enhancements can lead to increased customer satisfaction, higher conversion rates, and an overall better user experience.
Best Practices for Managing Submissions and Following Up
Managing submissions effectively is crucial for maintaining a smooth workflow and ensuring you don’t miss out on important inquiries or feedback from your website visitors. Once your contact form is live, the next step is to establish a system for tracking and organizing the incoming submissions. Here are some best practices to consider:
- Use Dedicated Email Folders: Create specific folders in your email client for different types of submissions. This keeps your inbox organized and makes it easier to find messages later.
- Set Up Alerts: Configure notifications to alert you instantly when a new submission arrives. This ensures you can respond promptly, enhancing user engagement.
- Implement a Tracking System: Consider using a project management tool or a simple spreadsheet to log each submission along with its status. You can track whether you’ve replied, if further action is needed, and deadlines for response.
Following up is just as important as the initial response. A timely follow-up can turn a simple inquiry into a lasting relationship. Here’s how to do it effectively:
- Establish Response Times: Clearly communicate expected response times on your contact page. This sets user expectations and shows that you value their time.
- Personalize Your Messages: When following up, personalize your emails with the recipient’s name and reference their inquiry. This adds a personal touch that can significantly enhance user experience.
- Automate Where Possible: Use tools like autoresponders for immediate acknowledgment of submissions. This gives users confidence that you’ve received their message and will get back to them soon.
Additionally, consider tracking the effectiveness of your follow-up efforts. A simple table can help visualize your response rates:
| Date | Submission Source | Status | Response Time |
|---|---|---|---|
| 01/10/2023 | Contact Form | Replied | 2 hours |
| 01/12/2023 | Newsletter Sign-Up | Pending | N/A |
| 01/15/2023 | Feedback Form | Replied | 1 day |
By implementing these practices, not only will you streamline the process of managing submissions, but you’ll also foster a positive relationship with your audience. A well-organized and responsive communication strategy can set you apart and create a more engaging user experience.
Frequently Asked Questions (FAQ)
Q&A: How to Add a Contact Form in WordPress (Step by Step Guide)
Q1: Why do I need a contact form on my WordPress site?
A1: Great question! Having a contact form is essential for any website because it provides a direct line of communication between you and your visitors. Whether you’re running a blog, an online store, or a portfolio, a contact form makes it easy for potential customers, readers, or collaborators to reach out. Plus, it’s often more professional than just listing your email address.
Q2: Is it difficult to add a contact form to my WordPress site?
A2: Not at all! Adding a contact form to your WordPress site is a straightforward process, even if you don’t have any coding experience. With user-friendly plugins and intuitive interfaces, you can have a contact form up and running in no time. Trust me, if you can click a button, you can do this!
Q3: What’s the best plugin to use for creating a contact form?
A3: There are several excellent plugins out there, but some of the most popular ones include Contact Form 7, WPForms, and Ninja Forms. Each offers unique features, so it really depends on your needs. For beginners, I recommend WPForms because of its drag-and-drop interface, which makes the setup super easy!
Q4: Can I customize my contact form to match my website’s style?
A4: Absolutely! Most contact form plugins allow you to customize colors, fonts, and layouts so that your form seamlessly blends in with your website’s design. You can even add your logo or change the button text to make it more engaging. Personalizing your contact form not only looks great but also enhances user experience!
Q5: What fields should I include in my contact form?
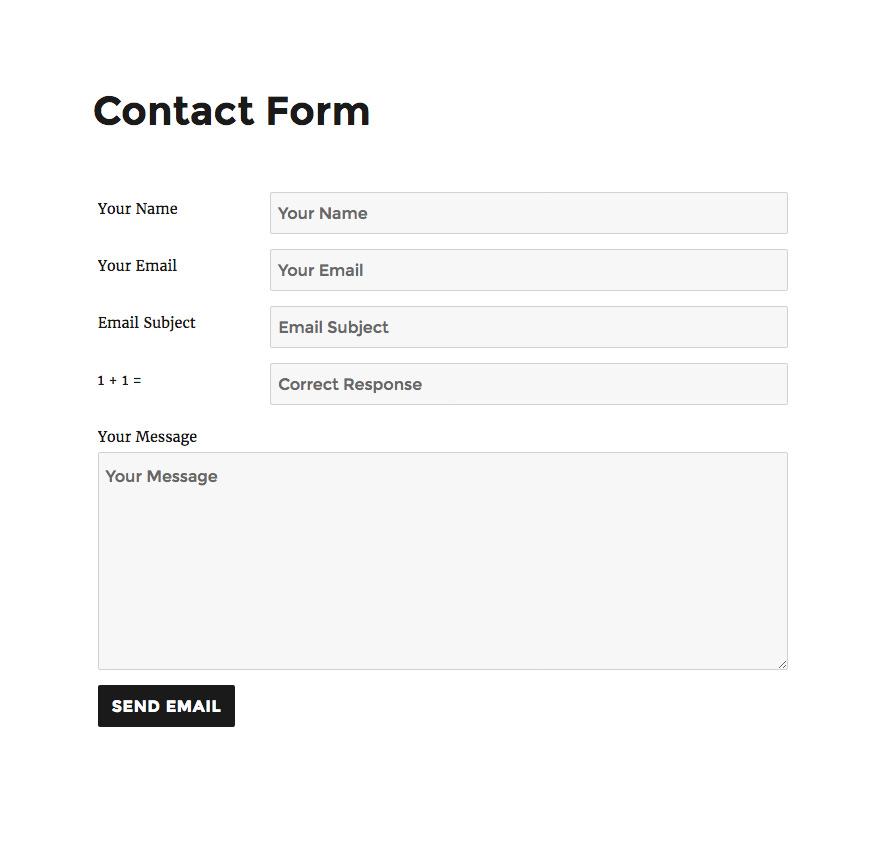
A5: When creating your contact form, it’s important to keep it simple yet effective. Usually, you’ll want to include fields for the name, email address, subject, and message. If you need specific information, you can add optional fields like phone number or a dropdown menu for inquiries. Just remember: the fewer fields, the more likely people will fill it out!
Q6: How can I ensure I don’t miss any messages sent through my contact form?
A6: Many plugins have built-in features to send you a notification via email every time someone submits a message through your contact form. You can also set up confirmations to let users know their message was received. For added security, consider using a plugin with CAPTCHA features to reduce spam submissions.
Q7: What if I run into problems while setting up my contact form?
A7: No worries! Most popular contact form plugins have comprehensive support documentation and user forums where you can get help. Additionally, many offer customer support to assist you. With a little patience, you’ll be able to troubleshoot any issues that come up.
Q8: Can I track submissions through my contact form?
A8: Yes! Some plugins, like WPForms, offer add-ons that allow you to view and manage submissions directly from your WordPress dashboard. This feature is great for keeping track of inquiries, managing leads, and following up efficiently!
Q9: How do I add the contact form to my website after creating it?
A9: Once your contact form is set up, you can easily add it to a page or post using a shortcode provided by the plugin. You can also use a widget to place it in your sidebar or footer. Just copy the shortcode and paste it where you want the form to appear—simple as that!
Q10: Why should I start adding a contact form today?
A10: Adding a contact form today can improve your website’s communication and engagement with visitors. It’s an investment in your online presence that can lead to more inquiries, potential partnerships, and ultimately, growth for your brand. So why wait? Let’s get started on enhancing your site!
Feel free to include this Q&A in your article to help guide readers through the process of adding a contact form to their WordPress site!
To Wrap It Up
And there you have it! You’ve just taken a significant step towards enhancing your WordPress site by adding a contact form. Not only does this feature streamline communication with your visitors, but it also builds trust and encourages engagement. Whether you’re a blogger, a small business owner, or just someone who wants to share their passion with the world, having a dedicated way for people to reach out is invaluable.
Remember, the steps I’ve outlined are just the beginning. Feel free to experiment with different plugins and customization options to find the perfect fit for your site. As you grow and evolve, your contact form can adapt too! So why wait? Go ahead and implement what you’ve learned today, and watch your communication game soar.
If you have any questions or need further assistance, don’t hesitate to reach out. Happy WordPress-ing, and may your inbox be filled with exciting new connections!


