Ready to transform your WordPress site? The Customizer is your best friend! With its user-friendly interface, you can tweak everything from colors to fonts in real-time. Dive in and see how easy it is to create a stunning website that truly reflects your style!
How to Use the WordPress Customizer: A Complete Guide
Are you ready to take your WordPress site to the next level? Whether you’re a seasoned blogger, a small business owner, or just someone looking to showcase your passion project, the WordPress Customizer is your secret weapon for creating a stunning online presence. If the thought of tweaking your site’s design feels daunting, worry not! In this complete guide, we’ll walk you through everything you need to know about using the WordPress Customizer. From changing your site’s colors and fonts to adjusting layouts and adding custom widgets, we’ll simplify the process and empower you to make your website truly yours. So, grab a cup of coffee, settle in, and let’s dive into the world of WordPress customization—your dream site is just a few clicks away!
Understanding the WordPress Customizer and Its Importance
The WordPress Customizer is more than just a tool; it’s your gateway to a richer and more personalized website. This feature allows you to see changes in real time, making it incredibly user-friendly for both beginners and seasoned developers. With the Customizer, you can tweak various aspects of your site without the need for coding, which is a game-changer for anyone looking to enhance their online presence.
When you access the Customizer, you’ll find a variety of settings that can transform your site’s appearance. Here are some of the key features you can explore:
- Site Identity: Change your site title, description, and logo effortlessly.
- Colors: Customize your site’s color scheme to match your brand.
- Menus: Create and manage navigation menus for better user experience.
- Widgets: Add and arrange widgets to enhance site functionality.
- Homepage Settings: Choose how your homepage will display content, whether as a static page or your latest posts.
One of the standout features of the Customizer is its live preview capability. As you make changes, you can see how they affect your site in real-time. This immediate feedback loop helps you make informed decisions, ensuring that every tweak aligns with your vision. Imagine adjusting your color palette or switching font styles, all while seeing how they come together on your site—it’s efficient and reduces the guesswork that often comes with website design.
To help you visualize the settings, consider the following simple table outlining the most common sections within the Customizer:
| Section | Description |
|---|---|
| Site Identity | Modify site title, tagline, and logo. |
| Colors | Adjust background and text colors. |
| Typography | Choose fonts and sizes for your text. |
| Menus | Set up and edit navigational links. |
| Widgets | Control sidebar and footer content. |
Additionally, the Customizer is essential for responsive design. With more users accessing websites via mobile devices, ensuring your site looks great on all screens is crucial. The Customizer allows you to switch between desktop, tablet, and mobile views, enabling you to make adjustments that enhance the overall user experience across various devices.
embracing the WordPress Customizer is vital for anyone serious about their online presence. By leveraging its features, you can create a cohesive and visually appealing website that resonates with your audience. Don’t underestimate the power of this tool; it’s a fundamental part of maintaining a modern, effective website that stands out in today’s digital landscape.
Getting Started with the WordPress Customizer Interface
Diving into the WordPress Customizer is like stepping into a treasure trove of customization options for your website. It’s your one-stop shop for tweaking the look and feel of your site in real time, making it an essential tool for any WordPress user. Here’s how to navigate this powerful interface effectively.
When you first enter the Customizer, you’ll notice a sidebar filled with various options. Each option corresponds to different aspects of your site’s appearance. Here are some of the key areas you can explore:
- Site Identity: Change your site title, tagline, and logo.
- Colors: Select your theme’s color palette.
- Menus: Create and manage navigation menus.
- Widgets: Add or edit widgets in your sidebar or footer.
- Homepage Settings: Set your homepage to display a static page or your latest posts.
Each section is designed to be intuitive, but don’t hesitate to click around and see what each option does. The best part? You can see the changes as you make them! This real-time preview allows you to experiment without the worry of messing up your live site.
One of the standout features of the Customizer is its responsive design preview. You can toggle between desktop, tablet, and mobile views, ensuring your site looks great on all devices. This is crucial, as a significant portion of web traffic comes from mobile users today.
For a more organized approach, consider using the following table, which lists common Customizer features alongside their purpose:
| Customizer Feature | Purpose |
|---|---|
| Site Identity | Branding and logo setup |
| Colors | Color scheme customization |
| Menus | Navigation structure management |
| Widgets | Add content to sidebars and footers |
| Homepage Settings | Control homepage display settings |
As you experiment with the Customizer, don’t forget to use the Publish button to save your changes. If you’re not ready to commit, you can simply click Save & Publish later when you’re satisfied with how everything looks. Additionally, the Reset option allows you to revert back to default settings without hassle, giving you the freedom to experiment without fear.
Navigating the Key Sections of the Customizer Menu
Understanding the WordPress Customizer can open up a world of possibilities for your website’s design and functionality. Each section of the Customizer menu serves a distinct purpose, making it easier for you to tailor your website to meet your specific needs.
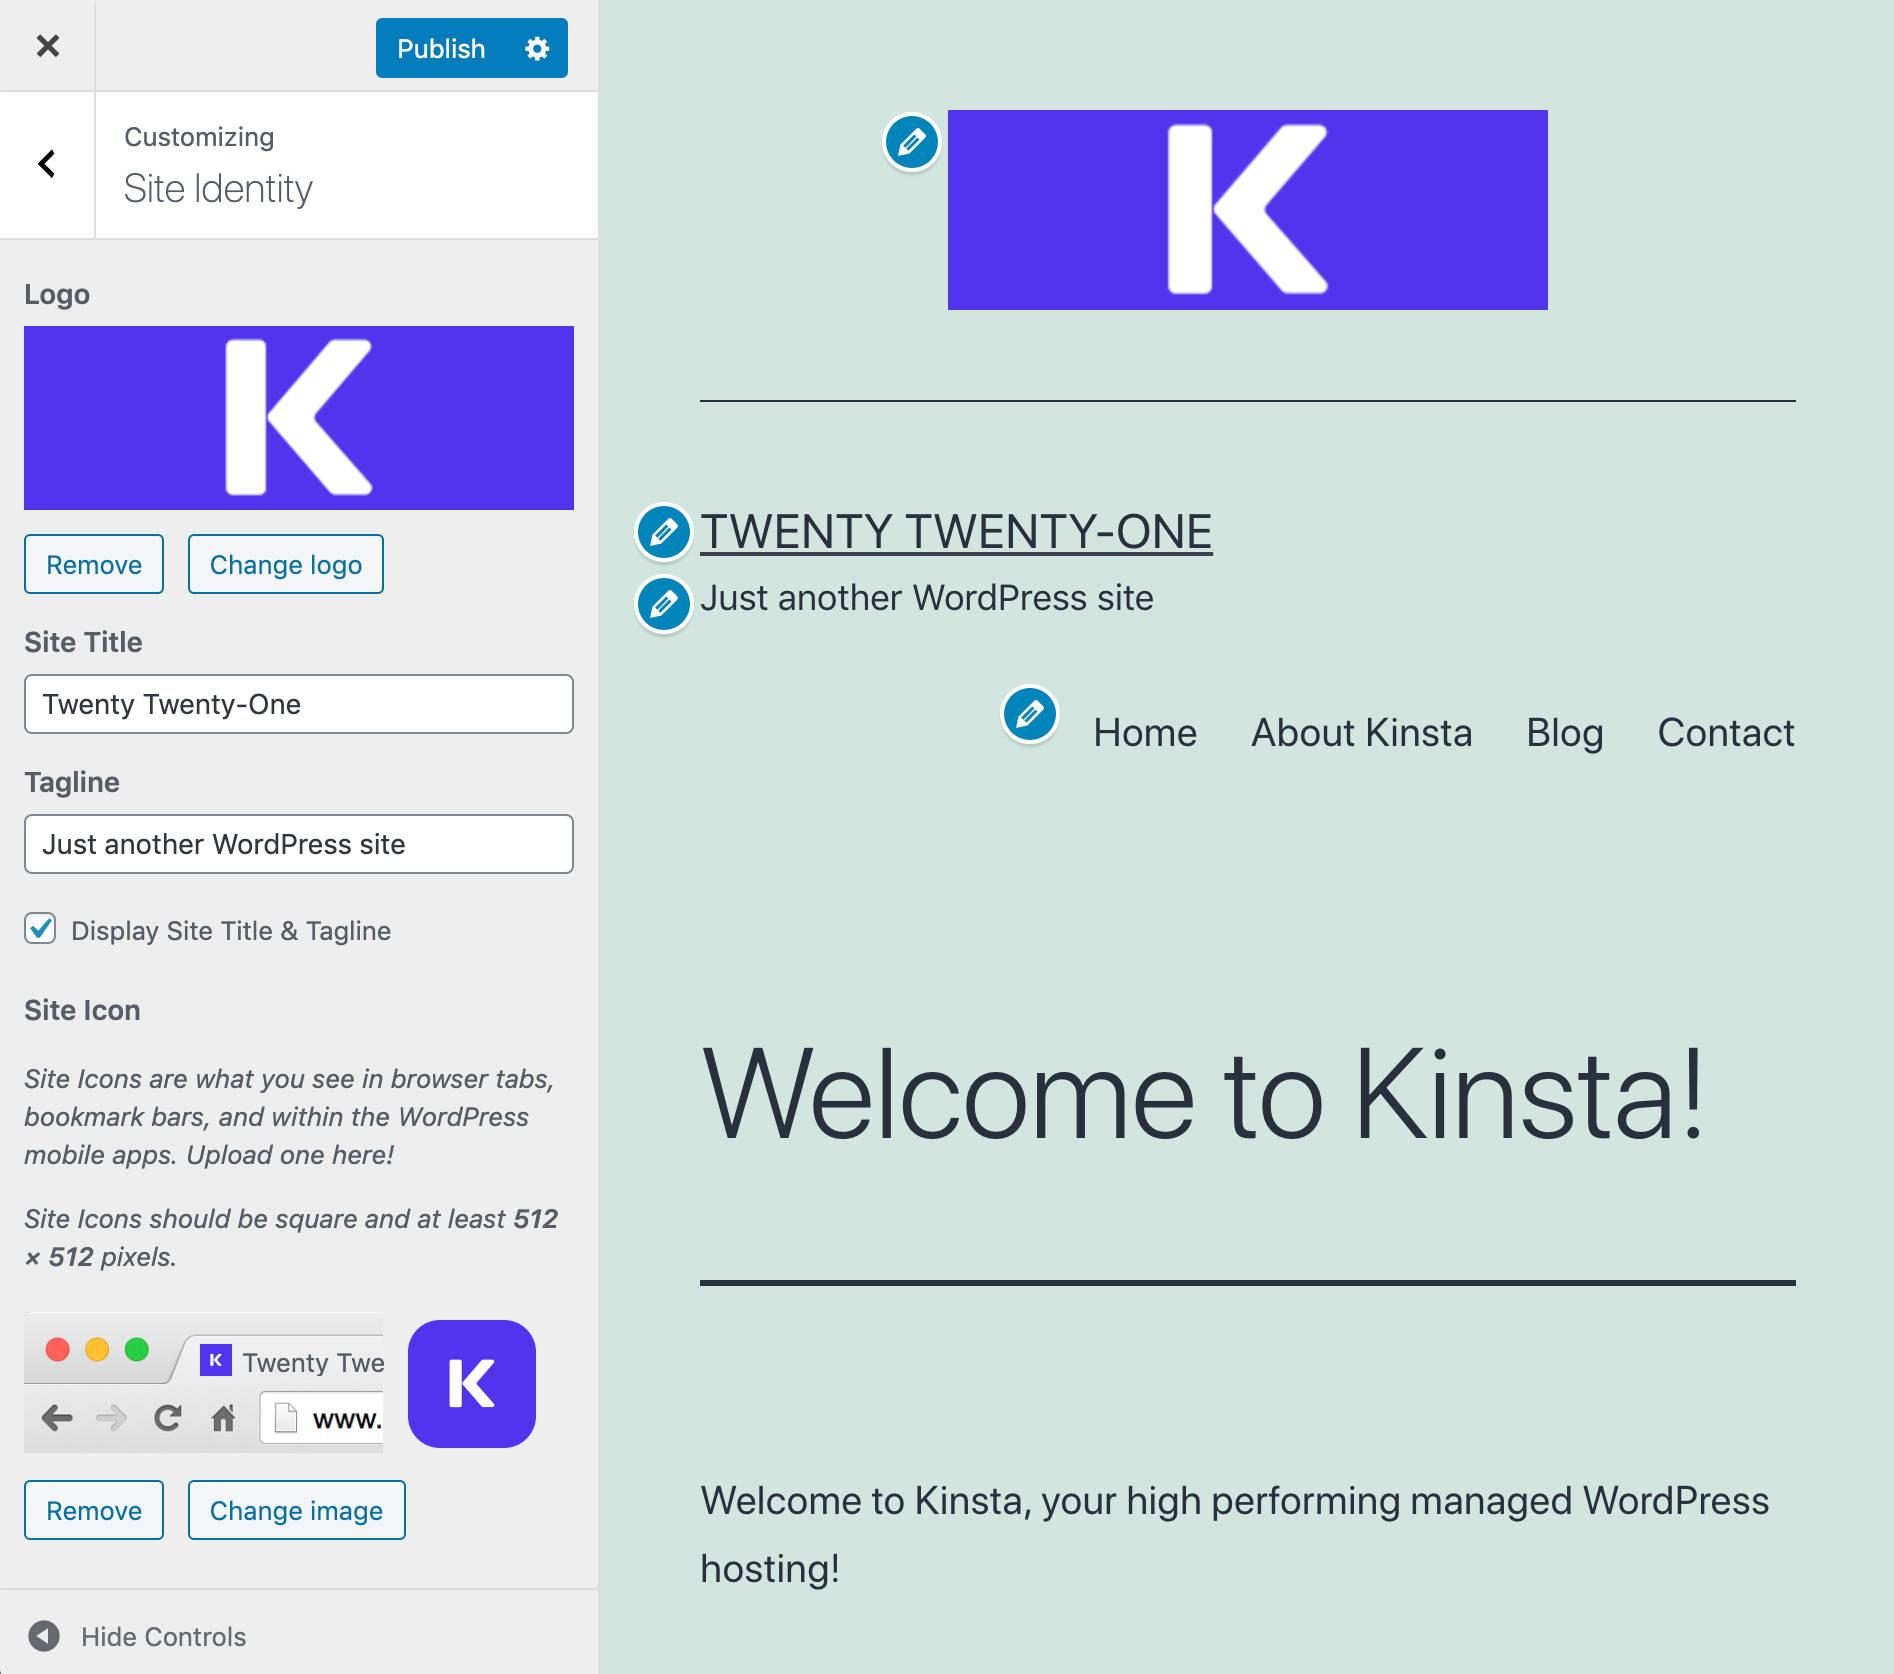
Site Identity is where you start shaping your brand’s online presence. Here, you can upload your logo, set a site title, and even create a tagline that succinctly conveys what your site is about. This section also allows you to choose a site icon, which is crucial for your site’s identity in the browser tab or app icon.
Moving to Colors, you’ll find options that empower you to create a cohesive color scheme across your website. You can change the background color, adjust text color, and select link colors to ensure everything matches your vision. Don’t forget to preview your changes in real-time—this section is all about making your site visually appealing.
The Header Image section gives you the opportunity to add a striking image that can enhance your site’s first impression. This feature lets you upload a custom header image or choose one from the WordPress media library. A well-chosen header image can make your site stand out and resonate with your audience.
In the Menus section, you can create and manage navigation menus for your site. Adding custom links, pages, and categories to your menus makes it easy for visitors to navigate your site. A well-structured menu not only improves user experience but also helps in enhancing your site’s SEO.
the Widgets section is where the magic of functionality happens. You can add various elements like search bars, recent posts, and social media links to different areas of your site. Widgets allow you to personalize your layout and engage visitors in new ways. Choose your widgets wisely to keep content dynamic and interesting.
| Customizer Menu Section | Purpose |
|---|---|
| Site Identity | Set your site’s title, logo, and icon. |
| Colors | Customize your site’s color scheme for a unified look. |
| Header Image | Upload a compelling header image to engage visitors. |
| Menus | Create and manage navigation menus for easy access. |
| Widgets | Add interactive elements to enhance user experience. |
By exploring these sections of the Customizer, you can transform your WordPress site into a unique reflection of your brand and engage your audience effectively. Each adjustment you make is a step toward a better online presence, so take your time and enjoy the process!
Customizing Your Site Identity for a Strong First Impression
Your site identity is the first interaction visitors have with your brand, and making a strong first impression is crucial. The WordPress Customizer makes it easy to polish your online presence and ensure your site resonates with your audience. Let’s dive into the key elements of customizing your site identity to elevate your brand’s appeal.
Begin with your site title and tagline. These are not just text fields; they are your brand’s voice. Choose a site title that reflects your core message and a tagline that succinctly describes what you offer. A well-crafted tagline can entice visitors to explore your site further. Here’s how to effectively choose them:
- Keep it concise: Aim for clarity and brevity.
- Use relevant keywords: Help visitors understand your niche at a glance.
- Be memorable: A catchy phrase can stick in a visitor’s mind.
Next, focus on your logo and site icon. A distinctive logo can be a powerful visual representation of your brand. When customizing these elements, ensure that your logo is high quality and scales well across devices. Similarly, a site icon, often referred to as a favicon, should be recognizable even at smaller sizes. To achieve the best results, consider these tips:
- Use vector graphics: These scale without losing quality.
- Stay true to your brand colors: Consistency is key.
- Test visibility: Check how it appears on various browsers and devices.
Don’t overlook the header image and background color. A visually appealing header can capture attention immediately, while a cohesive background color can enhance readability and overall aesthetics. To choose effectively, consider the following:
| Element | Tips |
|---|---|
| Header Image | Use high-resolution images that reflect your brand. |
| Background Color | Choose soft tones that don’t distract from content. |
remember that your site identity should be consistent across all platforms. This includes social media profiles, email signatures, and marketing materials. Consistency builds trust and helps reinforce your brand’s image. Take the time to review all your branded materials and ensure they align with your customized site identity.
Exploring the Color and Typography Options for a Unique Look
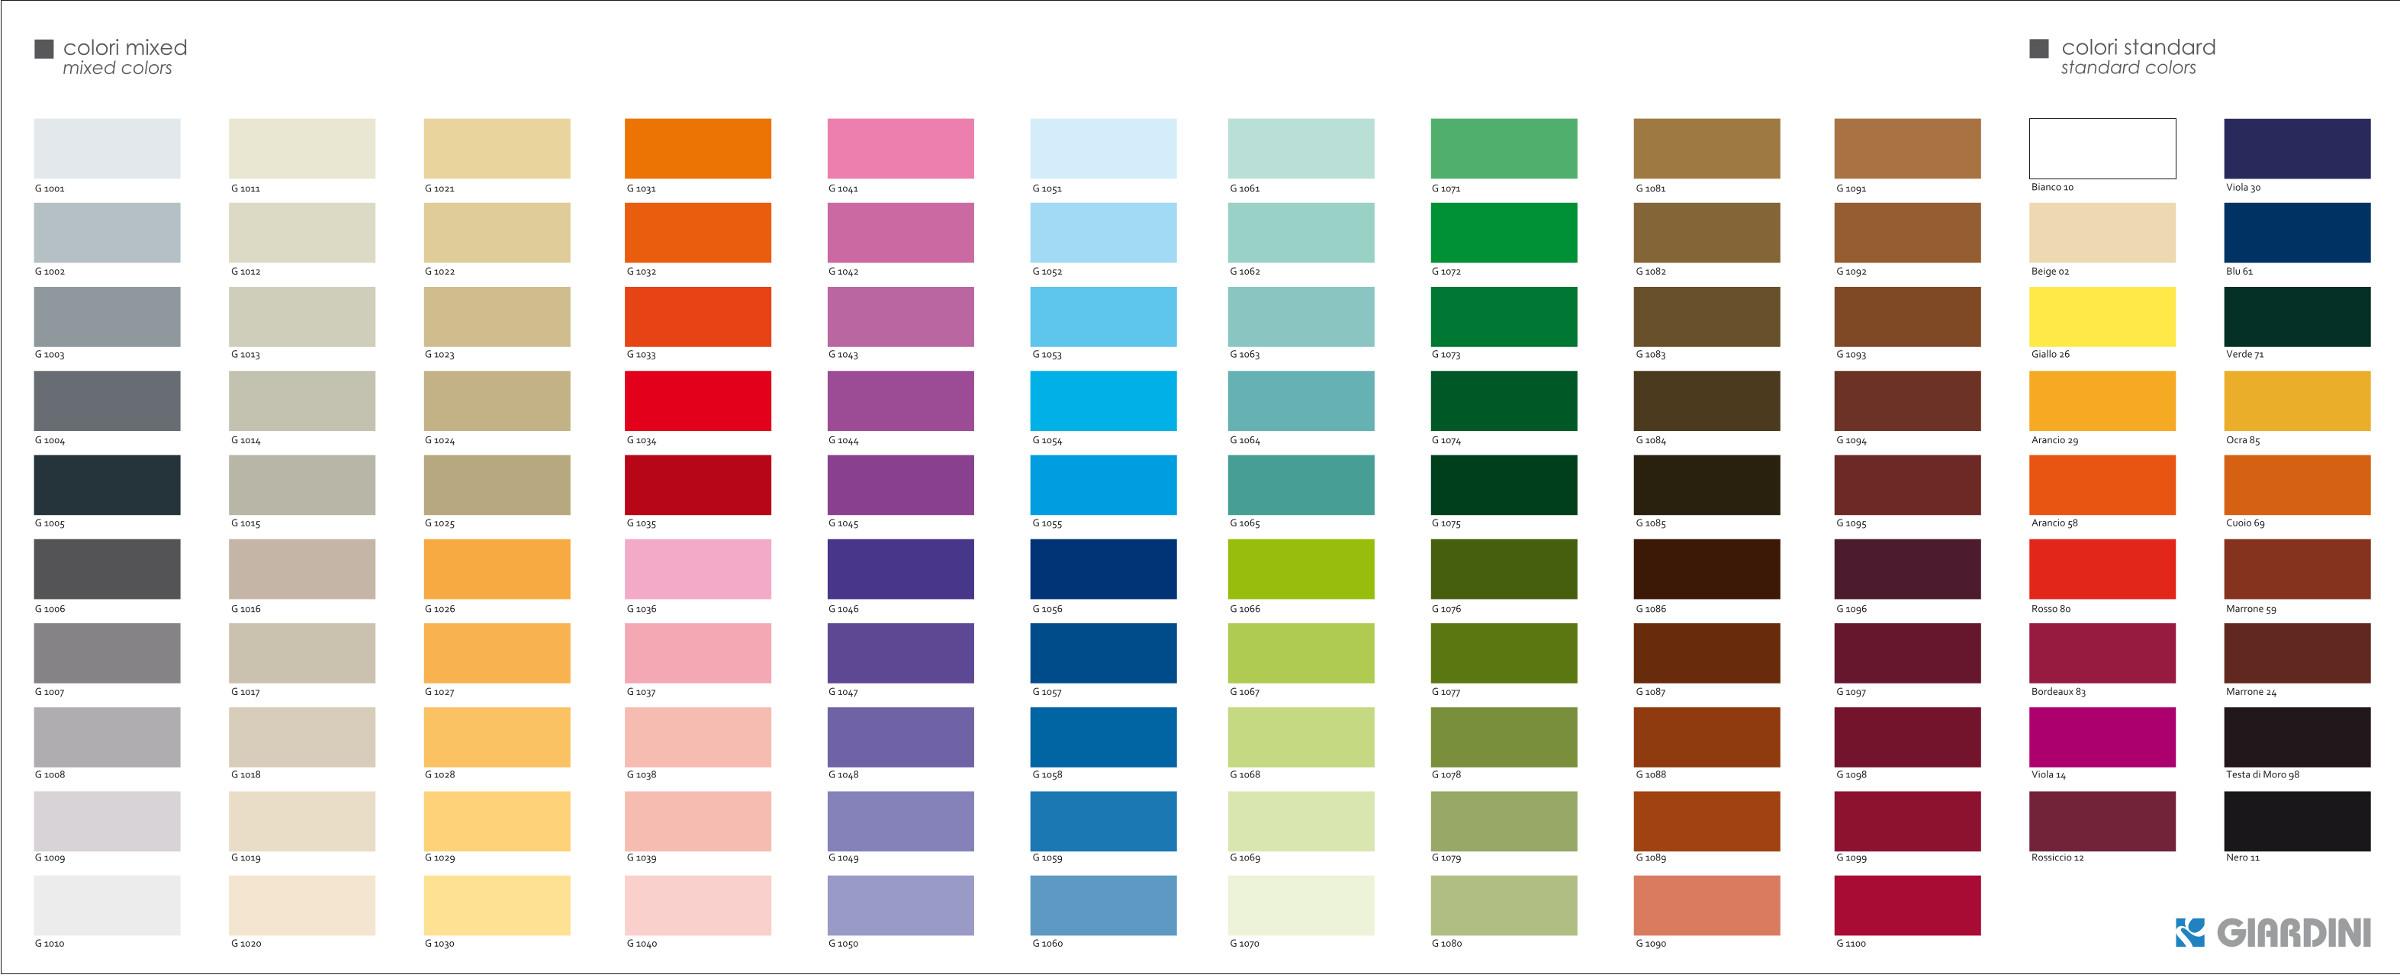
When it comes to crafting a unique and memorable website, color and typography are your best friends. With the WordPress Customizer, you can easily experiment with a variety of hues and fonts to create a cohesive brand identity that resonates with your audience.
First, let’s dive into color options. Choosing the right color palette can set the tone of your site and evoke emotions in your visitors. Here are a few tips to get you started:
- Limit Your Palette: Stick to 2-3 primary colors and a few accent colors to maintain harmony.
- Use Contrast Wisely: Make sure your text is easily readable against the background by utilizing contrasting colors.
- Consider Color Psychology: Choose colors that align with the message you want to convey; for example, blue for trust and red for excitement.
Next up is typography. The fonts you select can enhance readability and add personality to your site. Here’s how to make typography work for you:
- Choose Readable Fonts: Prioritize legibility, especially for body text. Fonts like Arial, Georgia, and Helvetica are great options.
- Pair Fonts Effectively: Use contrasting styles (like a serif for headings and a sans-serif for body text) to create a visually appealing hierarchy.
- Limit the Number of Fonts: Stick to 2-3 different typefaces to avoid a cluttered look.
To help you visualize your options, consider the following table that showcases a few color and typography combinations:
| Color Palette | Font Pairing | Best For |
|---|---|---|
| Blue, White, Grey | Montserrat (Headings), Open Sans (Body) | Corporate Websites |
| Coral, Navy, Cream | Poppins (Headings), Roboto (Body) | Creative Portfolios |
| Green, Beige, Brown | Lora (Headings), Arial (Body) | Eco-Friendly Blogs |
With these tools at your disposal, the WordPress Customizer not only allows you to select colors and fonts but also empowers you to create a site that stands out from the crowd. Embrace the freedom to mix, match, and refine until you find the perfect look that showcases your unique vision. Happy customizing!
Making the Most of the Header and Footer Settings
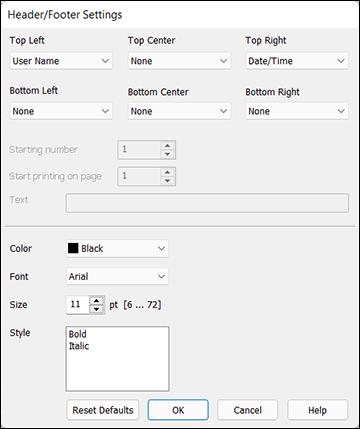
When it comes to designing your site, the header and footer are essential elements that often get overlooked. They serve as the first and last impressions visitors have of your website, making it crucial to optimize them effectively. Utilizing the WordPress Customizer, you can tailor these areas to reflect your brand’s identity and enhance user experience.
The header typically encompasses your site’s logo, navigation menu, and contact information. Here are some ways to make it work for you:
- Logo Placement: Ensure your logo is prominently displayed for easy recognition.
- Sticky Header: Consider a sticky header that remains visible as users scroll, keeping navigation accessible.
- Clear Navigation: Organize your menu logically, using drop-down options for subcategories to keep it tidy.
On the other hand, the footer is often an underutilized space packed with potential. Here’s how to enhance it:
- Contact Links: Include essential contact information and social media links to improve connectivity.
- Newsletter Signup: Add a subscription form to grow your mailing list and engage with your audience.
- Quick Links: Use the footer for easy access to important pages such as your Privacy Policy or Terms of Service.
To further illustrate how to effectively set up your header and footer, here’s a quick overview of key settings you might find in the WordPress Customizer:
| Element | Customizable Options |
|---|---|
| Header | Logo upload, Menu settings, Background color, Font size |
| Footer | Widget areas, Copyright text, Social media links, Newsletter form |
Keep in mind that consistency is key. Use colors and fonts that align with your overall theme to create a cohesive look. By harmonizing the header and footer with the rest of your site, you can enhance brand recognition and foster a professional image.
Lastly, don’t forget to preview your changes as you make them. The WordPress Customizer allows you to see real-time edits, which helps ensure that you achieve the desired layout and functionality before publishing. Test how your header and footer look across different devices to ensure a seamless experience for all users.
Leveraging Widgets to Enhance Your Sites Functionality
Widgets are a powerful tool in WordPress that can significantly enhance your site’s functionality. They allow you to add various features and elements to your website with ease. By leveraging widgets, you can create a more engaging user experience, boost your site’s usability, and even improve your SEO.
Here are some practical ways to utilize widgets effectively:
- Custom Navigation Menus: Use widget areas to create custom menus that can help visitors easily navigate your site.
- Social Media Feeds: Integrate your social media profiles by adding feeds, allowing visitors to connect with you on multiple platforms.
- Contact Forms: Add a contact form widget to encourage users to reach out without cluttering your pages.
- Recent Posts or Comments: Showcase your latest content to keep users engaged and encourage them to explore more of your site.
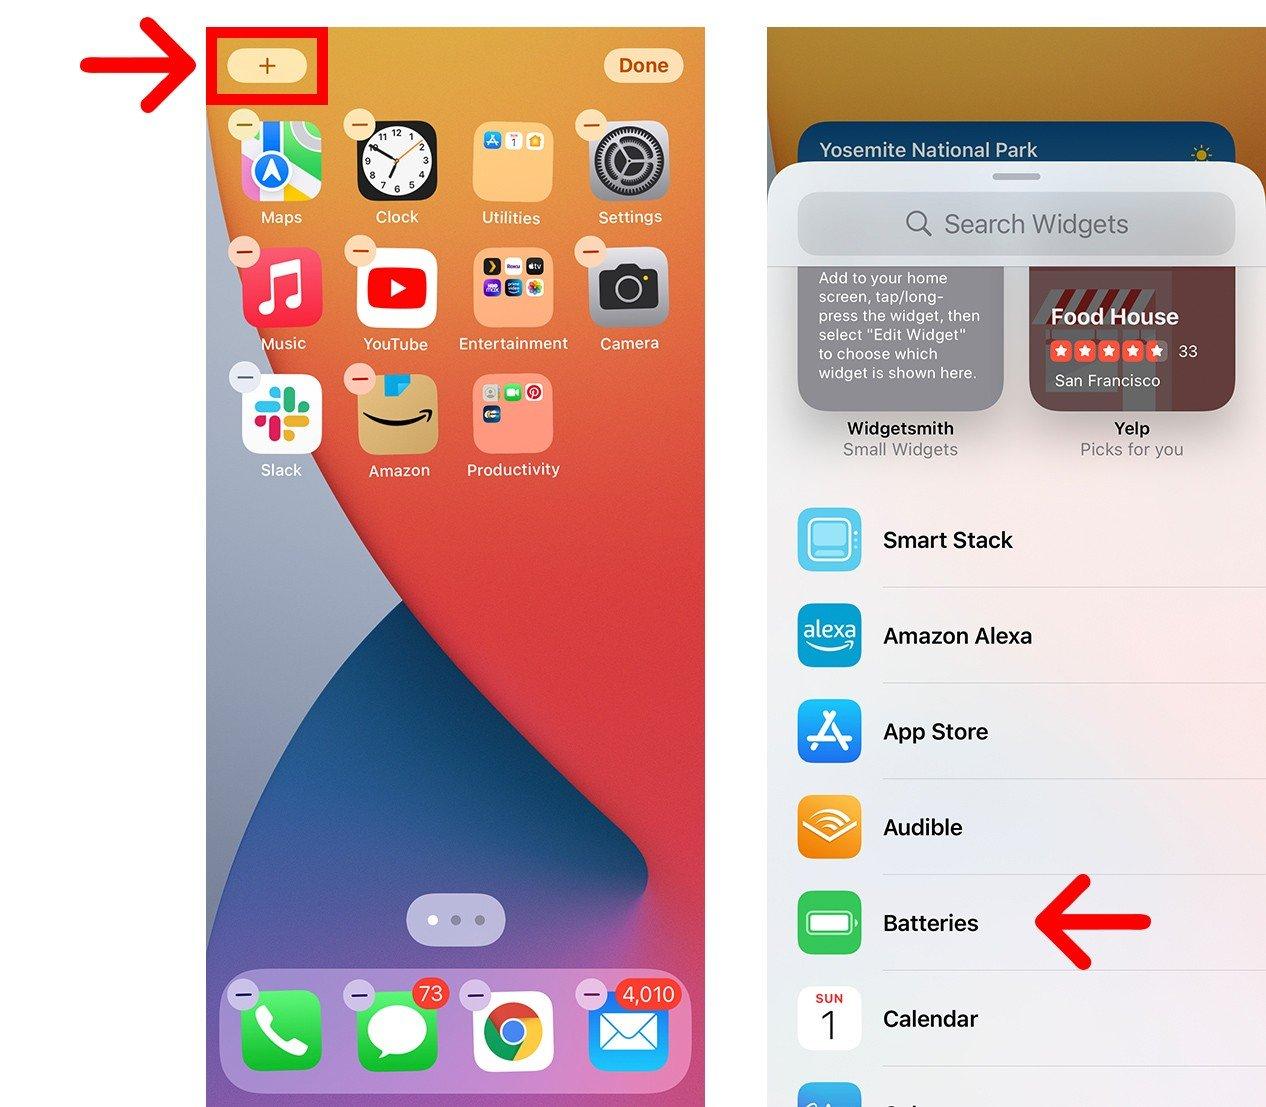
When using the WordPress Customizer, you can easily add and customize your widgets. Just navigate to Appearance > Widgets or use the Customizer to adjust them live. This feature provides a real-time preview, making it easier than ever to see how changes will look on your site.
Let’s break down some popular widget types and their benefits:
| Widget Type | Benefits |
|---|---|
| Text Widget | Add any HTML content or text, great for custom messages. |
| Image Widget | Showcase images that draw attention or promote products. |
| Calendar Widget | Display upcoming events to keep users informed and engaged. |
| Tag Cloud Widget | Visual representation of your tags, making content discovery easier. |
Additionally, consider using third-party widgets to expand your site’s capabilities. There are countless plugins available that can introduce advanced features such as sliders, testimonials, or even interactive maps. Always ensure to choose reputable plugins that align with your site’s goals.
By strategically placing widgets and customizing them through the WordPress Customizer, you can create a dynamic and interactive website that not only attracts visitors but keeps them coming back for more. Embrace the power of widgets, and watch your site transform into a robust platform that meets the diverse needs of your audience.
Previewing Changes in Real Time: A Hands-On Approach
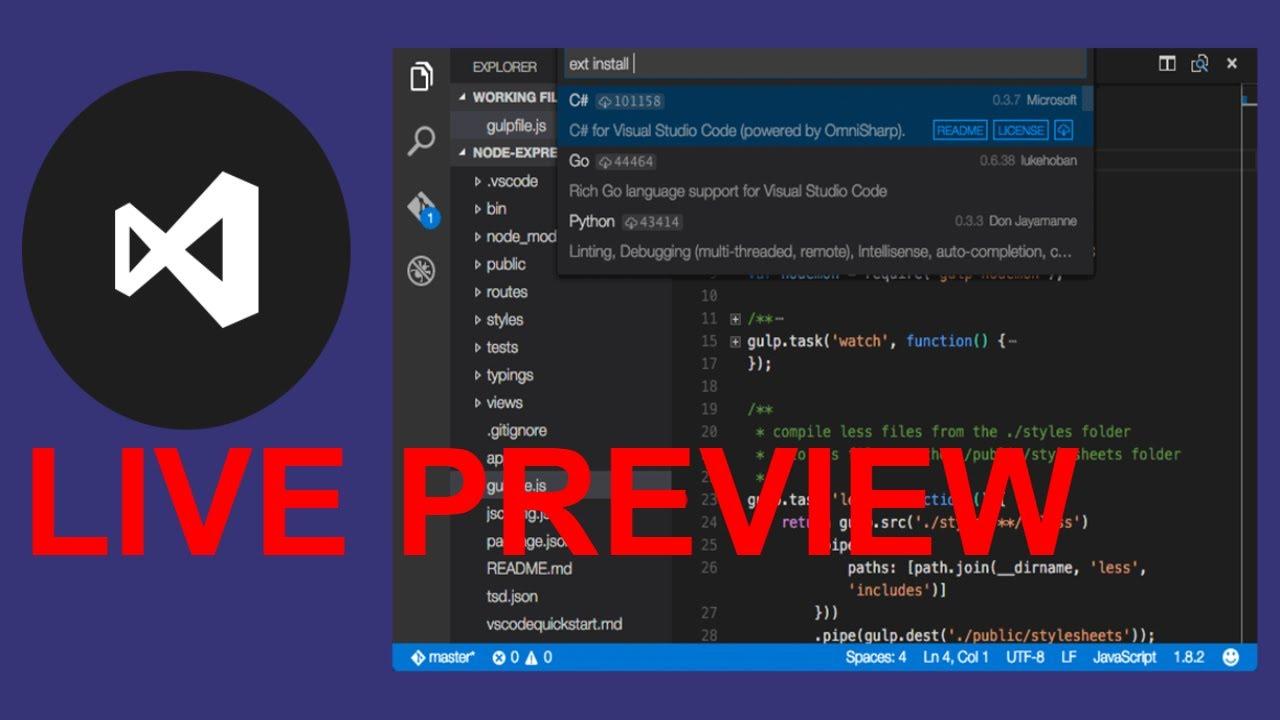
One of the most exciting features of the WordPress Customizer is its ability to allow you to preview changes in real time. This hands-on approach transforms the way you manage your site, making it not just a task, but a creative experience. Instead of switching back and forth between the backend and the frontend, you can see immediate effects of your adjustments, giving you a clear vision of your site’s potential.
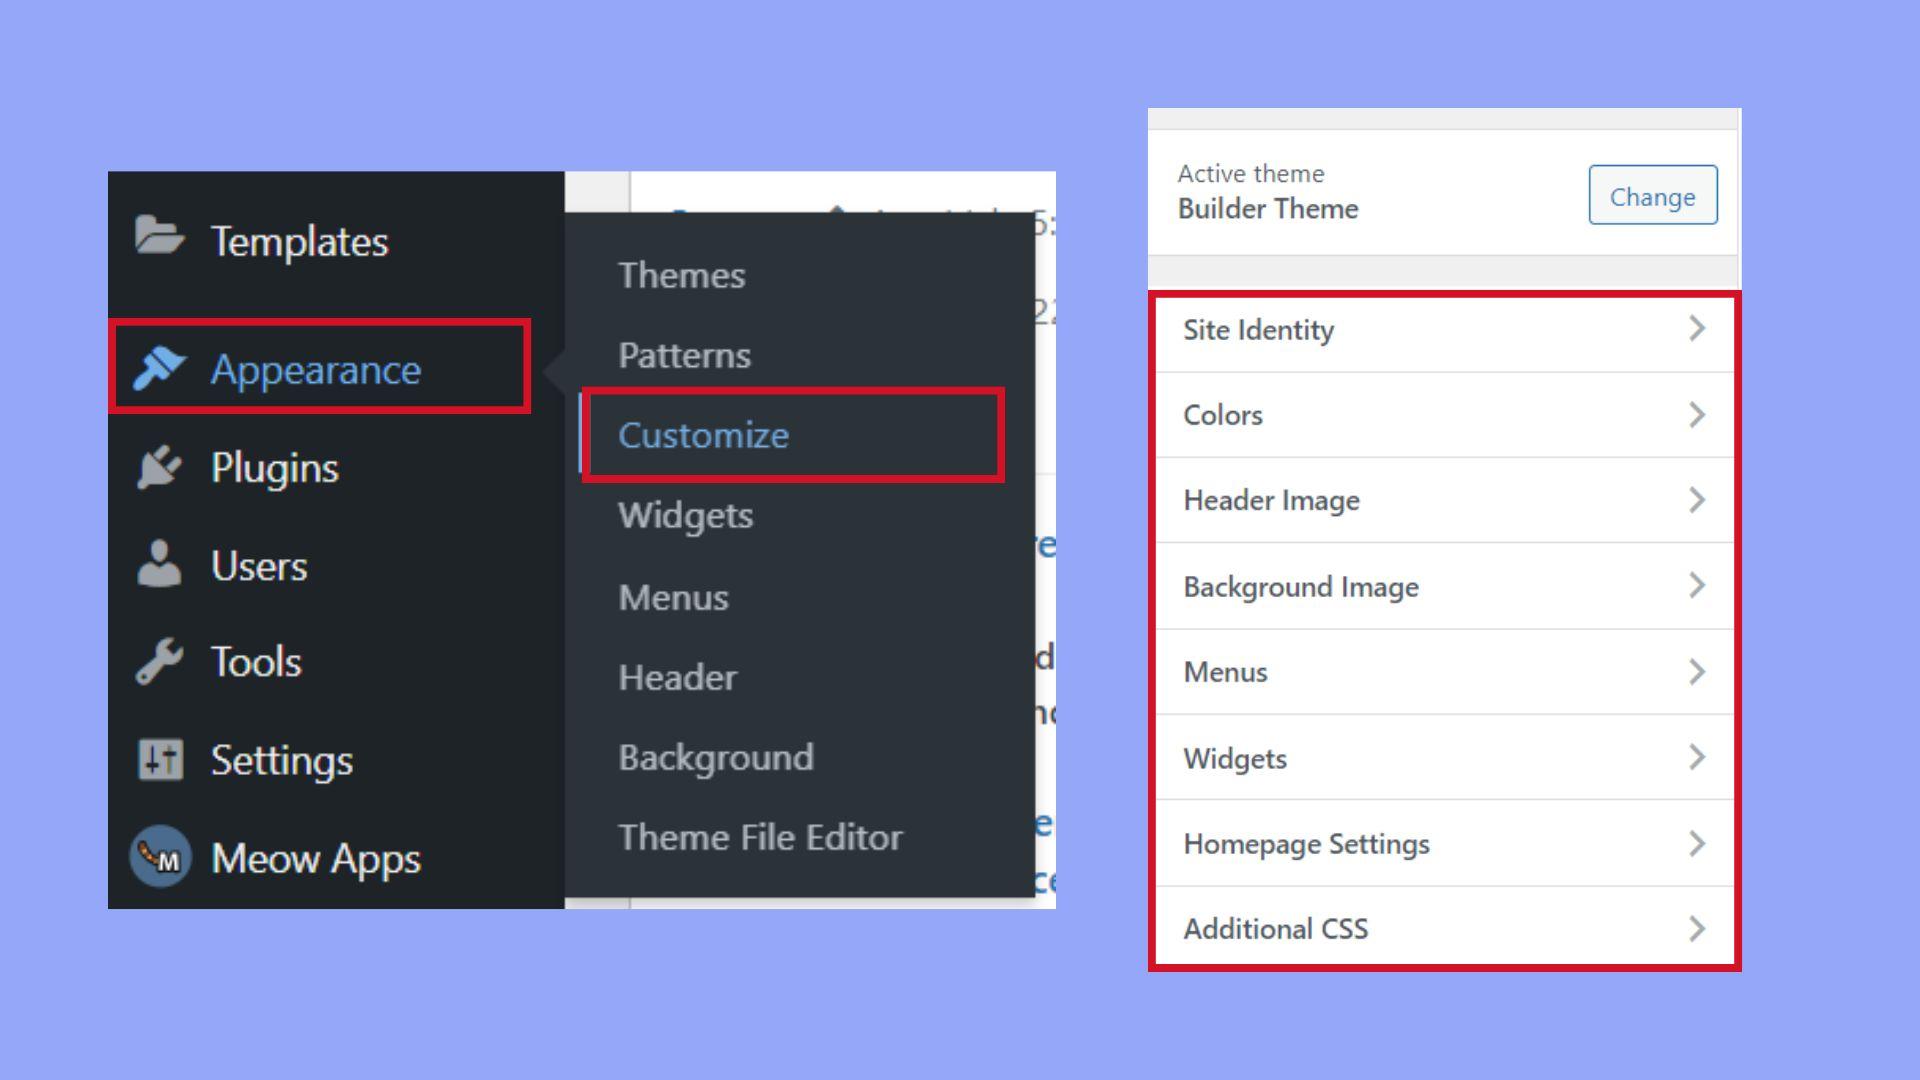
To get started, navigate to the Customizer from your WordPress dashboard by selecting Appearance and then Customize. Once you’re in, you’ll find a sidebar filled with options. Here’s a quick rundown of what to expect:
- Site Identity: Modify your site title, tagline, and logo while instantly seeing how they appear on your site.
- Colors: Experiment with your color scheme. Choose hues for backgrounds, text, and links, and watch how they come to life in real time.
- Menus: Add or rearrange menu items and see how your navigation looks immediately.
- Widgets: Adjust the widgets in your sidebar or footer, customizing their display right before your eyes.
As you make changes, the live preview area on the right side of the Customizer updates automatically. This means you can visualize your site’s look without any commitment. If you don’t like a change, simply undo it and try something new!
Additionally, the Customizer provides a responsive design preview. You can toggle between desktop, tablet, and mobile views, ensuring your website looks great on all devices. This is crucial in today’s mobile-first world, where user experience can make or break a site.
Here’s a simple table summarizing the key benefits of real-time previews:
| Benefit | Description |
|---|---|
| Immediate Feedback | See changes as you make them, allowing for quick adjustments. |
| Enhanced Creativity | Experiment with different designs without the fear of permanent changes. |
| Mobile Optimization | Ensure your site is responsive by checking designs on multiple devices. |
With the ability to preview changes in real time, the WordPress Customizer not only simplifies the design process but also empowers you to create a site that truly represents your brand. Dive in, experiment boldly, and enjoy the satisfaction of crafting a stunning online presence effortlessly!

Saving and Publishing Your Customizations with Confidence
When it comes to making changes to your WordPress site, you want to ensure that all your hard work is saved and published without a hitch. Understanding how to navigate the saving and publishing features of the WordPress Customizer can significantly boost your confidence in managing your site’s appearance.
Here are some tips to maximize your saving and publishing experience:
- Preview Your Changes: Before saving, always use the live preview feature. This allows you to see exactly how your modifications will look on the front end of your site, making it easier to spot any discrepancies.
- Save Drafts: Don’t forget to utilize the ”Save & Publish” button wisely. If you’re not ready to make your changes live, click “Save Draft.” This way, your customizations are not lost and can be further tweaked.
- Use the ”Publish” Option: When you’re happy with your adjustments, hit “Publish.” This action ensures that your changes are visible to your visitors, giving you a sense of accomplishment.
- Regular Backups: Always keep a backup of your site before significant changes. Plugins like UpdraftPlus or BackupBuddy can be lifesavers in case something goes wrong.
Here’s a simple table that outlines the differences between saving and publishing options:
| Action | Purpose |
|---|---|
| Save Draft | Store changes temporarily without making them public. |
| Publish | Make changes live and visible to all visitors. |
| Auto-save | Automatically saves your work at intervals to prevent data loss. |
Lastly, remember that confidence comes from practice. The more you experiment with the Customizer, the more familiar you’ll become with its functionalities. Don’t hesitate to play around with different settings, as this will help you become more proficient in saving and publishing your changes effectively.
Tips and Tricks for Troubleshooting Common Customizer Issues
Using the WordPress Customizer can sometimes lead to unexpected hiccups. If you’re running into issues, don’t worry! Here are some effective strategies to help you troubleshoot common problems:
- Clear Your Cache: Often, a stubborn browser cache can prevent changes from appearing. Clear your browser’s cache or check your site in incognito mode to see if the issue persists.
- Disable Plugins: A plugin conflict can disrupt the Customizer. Disable all plugins temporarily to identify if one of them is causing the issue. Reactivate them one by one to find the culprit.
- Switch Themes: Sometimes, the theme itself might be the issue. Switch to a default WordPress theme like Twenty Twenty-One and see if the Customizer works. If it does, the problem might be with your original theme.
If you’re still experiencing difficulties, check for JavaScript errors in your browser’s console. To do this, right-click on your site, select “Inspect,” and navigate to the “Console” tab. Look for any error messages that can hint at what’s going wrong.
Common JavaScript Errors
| Error Message | Possible Cause | Solution |
|---|---|---|
| Uncaught TypeError | JavaScript function not defined | Check for missing or incorrectly loaded scripts. |
| jQuery is not defined | jQuery library not loaded | Ensure jQuery is enqueued correctly in your theme. |
| 404 Not Found | Missing file or resource | Verify that all necessary files are uploaded and path is correct. |
Another useful trick is to verify your server settings. Sometimes, server configurations can limit the Customizer’s functionality. Ensure your PHP version is compatible with the latest WordPress version, and check if there are any server restrictions in place.
If you’ve tried all the above methods and nothing seems to work, consider reaching out to your hosting provider. They can provide insights and assistance, especially if the issue stems from server-side settings.
don’t forget to keep your WordPress, theme, and plugins updated. Regular updates can prevent many issues from arising in the first place, helping you maintain a smooth and seamless customizer experience.
Frequently Asked Questions (FAQ)
Q&A: How to Use the WordPress Customizer: A Complete Guide
Q: What is the WordPress Customizer?
A: Great question! The WordPress Customizer is a powerful tool that allows you to tweak your site’s appearance in real time. Think of it as your site’s personal stylist, helping you adjust colors, fonts, layouts, and more without needing any coding skills. It’s user-friendly and provides a live preview of your changes, so you can see exactly how everything will look before you hit ‘publish.’
Q: Why should I use the WordPress Customizer instead of just editing my theme files?
A: Using the Customizer is like having a safety net! Editing theme files directly can be risky—one little mistake and you could break your site. The Customizer lets you experiment with your design in a safe environment. Plus, it’s all about convenience; you can make changes on the fly and see them in action instantly. It’s a win-win!
Q: What kinds of changes can I make using the Customizer?
A: Oh, plenty! You can modify site identity (like your logo and tagline), change colors and backgrounds, set up menus, tweak widgets, customize your homepage settings, and even add custom CSS if you’re feeling adventurous. The Customizer essentially puts a world of design at your fingertips—you’ll be amazed at how much you can do!
Q: Is the Customizer easy to use for beginners?
A: Absolutely! The Customizer is designed with user-friendliness in mind. Even if you’re new to WordPress, you’ll find the interface intuitive. Each section is clearly labeled, and you can simply click, adjust, and see changes in real time. If you can click a button, you can customize your site!
Q: Can I revert changes if I don’t like them?
A: Yes, and that’s one of the best features! The Customizer allows you to preview changes before they go live. If you don’t like something, you can simply discard those changes without any hassle. This way, you can explore creative options confidently, knowing you can always go back.
Q: Are there any limitations to the WordPress Customizer?
A: While the Customizer is versatile, there are a few things it can’t do. For example, if you want to create complex layouts or use specific page builders, you may need to switch to a plugin. However, for most standard customizations, the Customizer is more than capable of handling everything you need!
Q: How can I access the Customizer?
A: Accessing the Customizer is super easy! Just log into your WordPress dashboard, go to “Appearance,” and click on “Customize.” You’ll be taken to the Customizer interface, where you can start making changes right away. It’s just a few clicks away!
Q: What if I want to make more advanced changes?
A: If you’re ready to take your customization skills up a notch, you can always use additional plugins or custom CSS. Many themes come with their own set of advanced options, and there’s a wealth of documentation and tutorials out there to help you learn more. Don’t be afraid to explore!
Q: What’s the takeaway for someone new to WordPress?
A: The takeaway is simple: dive into the WordPress Customizer! It’s an invaluable tool that lets you express your creativity and personalize your website without a steep learning curve. Whether you’re starting a blog, an online store, or a portfolio, the Customizer gives you the freedom to make your site truly yours—so don’t hesitate to start customizing today!
Insights and Conclusions
Conclusion: Unlock Your Website’s Potential with the WordPress Customizer
And there you have it! You’ve journeyed through the ins and outs of the WordPress Customizer and discovered just how powerful this tool can be for your website. From tweaking colors and fonts to adjusting layouts and adding custom CSS, the Customizer puts the reins of creativity right in your hands.
Remember, every little adjustment you make can significantly enhance the user experience and reflect your brand’s personality. So why not dive in and start experimenting? The best part is that you can preview your changes in real time — no more guessing games!
If you found this guide helpful, why not share it with a friend or fellow blogger? And don’t hesitate to revisit whenever you need a refresher or inspiration. Your website is your canvas, and the WordPress Customizer is your paintbrush. Get out there and create something amazing! Happy customizing!
