Looking to enhance your WordPress site with tooltips? You’re in luck! Whether you prefer the simplicity of a free plugin or the custom flair of CSS, adding tooltips is a breeze. Let’s dive into three easy methods to make your content pop!
How to Add a WordPress Tooltip in 3 Ways: Free Plugin or CSS
Are you looking to enhance your WordPress site’s user experience without diving into complex coding? If so, you’re in for a treat! Tooltips are a fantastic way to provide additional information to your visitors without cluttering your content. Whether it’s offering definitions, extra details, or even tips, tooltips can make your site more interactive and informative. The best part? You don’t need to be a tech whiz to add them! In this article, we’ll explore three easy ways to implement tooltips on your WordPress site—two of which are completely free! From using simple plugins to adding a touch of CSS magic, we’ve got you covered. Let’s dive in and transform your site into a more engaging experience for your audience!
Understanding the Value of Tooltips in WordPress
Tooltips can transform a standard WordPress site into a more user-friendly and engaging platform. When implemented effectively, they offer concise explanations and extra information just when users need it, enhancing the overall browsing experience. Imagine a visitor hovering over a term or phrase and instantly receiving a brief, informative pop-up. This not only aids comprehension but also reduces cognitive overload by keeping the interface clean and uncluttered.
One significant advantage of using tooltips is their ability to facilitate better navigation. Users often encounter unfamiliar terms or features that may confuse them. A well-placed tooltip can bridge that gap, offering insights without redirecting users away from their current page. This encourages them to explore more of your content, increasing engagement and time spent on your site.
Moreover, tooltips can be a powerful tool for SEO enhancement. By providing additional context to keywords and phrases, you create a richer content environment. Search engines love detailed and informative content, and tooltips can incorporate relevant keywords without compromising readability. When used wisely, they can boost your site’s visibility in search results, attracting more organic traffic.
Incorporating tooltips is also a way to improve your site’s accessibility. Tooltips can aid users with disabilities by providing them with extra context regarding icons or buttons that may not be easily understood at first glance. By ensuring that everyone can navigate your site with ease, you foster an inclusive online community, which is vital in today’s digital landscape.
| Benefits of Tooltips | Description |
|---|---|
| Improved User Experience | Provides instant clarity without cluttering the interface. |
| Enhanced Navigation | Guides users through unfamiliar terms or features. |
| SEO Boost | Supports keyword optimization and richer content. |
| Accessibility | Makes your site more user-friendly for everyone. |
Lastly, implementing tooltips can lead to increased conversions. Whether you’re selling a product, promoting a service, or simply aiming for newsletter sign-ups, providing visitors with the contextual information they need can help guide their decision-making process. By answering questions before they even arise, tooltips can pave the way for a smoother customer journey, ultimately resulting in higher conversion rates.
Exploring the Best Free Plugins for Tooltip Creation
When it comes to enhancing user experience on your WordPress site, tooltips can be incredibly effective. They provide additional information without cluttering your layout, making your content more engaging. Luckily, there are several free plugins available that can help you create stunning tooltips effortlessly. Here’s a closer look at some of the best options out there:
- WP Tooltip: This plugin is perfect for beginners. It allows you to create tooltips quickly with a simple shortcode. You can customize the tooltip’s appearance with various styles, ensuring that it fits seamlessly into your website’s design.
- Easy Tooltip: A lightweight option that doesn’t compromise on functionality. With Easy Tooltip, you can trigger tooltips through a variety of HTML elements, allowing for a versatile implementation. Plus, it comes with built-in themes to match your site’s aesthetics.
- Tooltips Pro: For those looking for more advanced features, Tooltips Pro offers customization options that let you adjust colors, fonts, and sizes. It’s user-friendly and integrates well with page builders, making it a great choice for anyone wanting to enhance their site’s look and feel.
One of the standout features of these plugins is their flexibility in settings. Users can easily adjust the placement of tooltips, selecting from options like top, bottom, left, or right to find the best spot for visibility. This ensures that your additional information is always accessible to your visitors without obstructing the main content.
Another compelling reason to consider these plugins is their compatibility with most WordPress themes. Whether you’re using a minimalist design or a more complex layout, these tooltip plugins can blend in seamlessly without any coding skills required. This makes them ideal for users who want to enhance their content but may not be comfortable delving into CSS or HTML.
| Plugin Name | Key Features | User Rating |
|---|---|---|
| WP Tooltip | Shortcode functionality, customizable styles | 4.5/5 |
| Easy Tooltip | Lightweight, multiple trigger options | 4.3/5 |
| Tooltips Pro | Advanced customization, theme compatibility | 4.7/5 |
By choosing one of these plugins, you can significantly improve how users interact with your content. Remember, the goal is not just to inform but to engage your audience. A well-placed tooltip can make a world of difference, providing clarity and enhancing the overall navigation experience on your site.
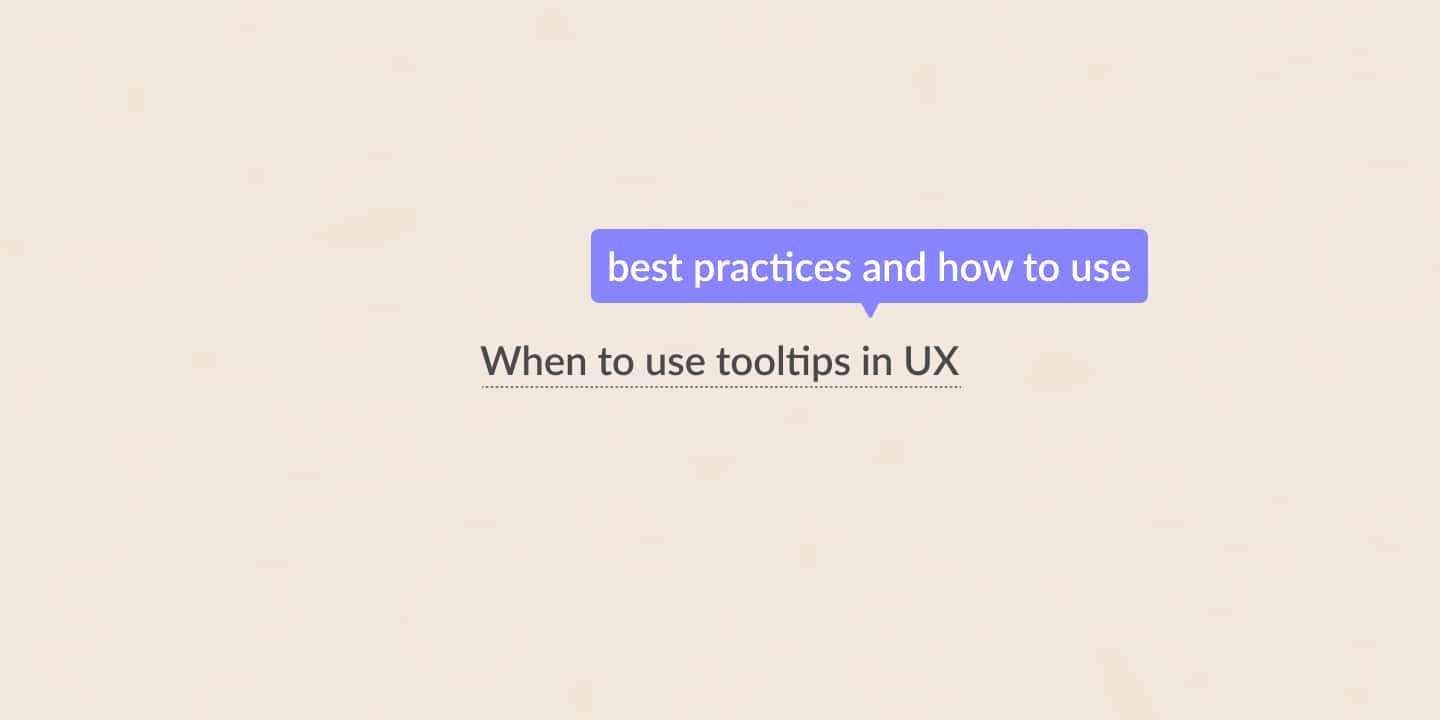
Step-by-Step Guide to Adding Tooltips with a Plugin
Adding tooltips to your WordPress site can enhance user experience by providing additional information without cluttering your pages. With a plugin, this process becomes seamless and intuitive. Here’s how you can easily add tooltips using a popular WordPress plugin.
Step 1: Choose Your Plugin
First, you’ll need to select a tooltip plugin that suits your needs. Here are a few popular options:
- WP Tooltips: A straightforward plugin with customizable tooltips.
- Simple Tooltips: Lightweight and easy to use, perfect for beginners.
- Easy Tooltip: Offers advanced features for those looking for more customization.
Step 2: Install and Activate the Plugin
After choosing a plugin, follow these steps to install and activate it:
- Log in to your WordPress dashboard.
- Navigate to Plugins > Add New.
- Search for your chosen tooltip plugin.
- Click Install Now and then Activate.
Step 3: Configure Tooltip Settings
Once activated, you’ll need to configure the tooltip settings to match your website’s style. This typically involves:
- Accessing the plugin’s settings page under Settings or Tools.
- Customizing tooltip colors, font styles, and animations.
- Defining the trigger for your tooltips (e.g., hover, click).
Step 4: Adding Tooltips to Your Content
Now it’s time to add tooltips to your content. Depending on the plugin, you may use shortcodes or a visual editor. Here’s a common approach:
| Content Example | Tooltip Code |
|---|---|
| This is a tooltip example. | [tooltip text=”Here is your tooltip text”]tooltip[/tooltip] |
| Hover over this for a surprise! | [tooltip text=”Surprise!”]this[/tooltip] |
Simply copy and paste the shortcode into your post or page where you want the tooltip to appear. Preview your changes to see the tooltips in action.
Step 5: Test and Iterate
be sure to test your tooltips across different devices and browsers. Make any necessary adjustments to ensure optimum performance and visibility. Engaging tooltips can significantly enhance user interaction, so don’t shy away from experimenting with different styles and placements!
Customizing Your Tooltips for a Unique Look
Customizing your tooltips can significantly enhance the user experience on your WordPress site. A tooltip is much more than just a simple hover effect; it’s an opportunity to convey information in an engaging way that reflects your brand’s identity. By tweaking colors, fonts, and styles, you can create a unique look that stands out to your visitors.
Here are some ideas to help you personalize your tooltips:
- Color Schemes: Match your tooltip colors with your site’s color palette. Use contrasting colors for the text and background to ensure readability. For instance, if your website has a blue theme, consider using a light blue background with dark blue text.
- Font Styles: The font you choose can convey a lot about your brand. Stick to web-safe fonts or Google Fonts that resonate with your site’s aesthetic. Play around with font sizes to create a hierarchy that draws attention where needed.
- Border Radius: Instead of standard rectangular tooltips, try adding a subtle border-radius to create softer edges. This can give your tooltips a more modern and friendly appearance.
- Shadow Effects: Adding a shadow can make your tooltips appear more dynamic and three-dimensional. Use CSS properties like
box-shadowto achieve this effect. - Animations: A gentle fade or slide-in animation can make your tooltips more engaging. Use CSS transitions to create subtle effects that enhance the user experience without being distracting.
Here’s a quick example of CSS you can use to style your tooltips:
.tooltip {
    background-color: #333;
    color: #fff;
    border-radius: 5px;
    padding: 10px;
    box-shadow: 0 4px 8px rgba(0, 0, 0, 0.2);
    transition: opacity 0.3s;
}
For a more structured approach, you might want to use a table to outline the various tooltip styles you can implement:
| Style | Description |
|---|---|
| Classic | Simple background with a contrasting text color. |
| Rounded | Soft edges with a modern feel, perfect for friendly branding. |
| Shadowed | Gives depth to the tooltip, making it pop off the screen. |
| Animated | Smooth transitions enhance user interaction and engagement. |
By investing a little time in customizing your tooltips, you can create a consistent and appealing look that resonates with your audience. The right design elements can elevate the functionality of your tooltips, making them not just informative, but also an integral part of your site’s overall design. So go ahead, experiment with different styles, and see what works best for your WordPress site!
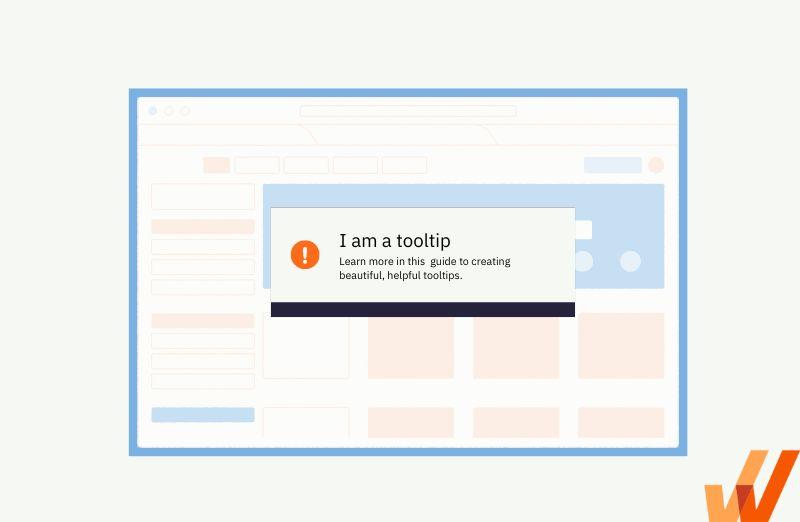
Implementing Tooltips with Simple CSS Techniques
For those looking to enhance their WordPress site without the clutter of a plugin, implementing tooltips using simple CSS techniques can be a game-changer. Tooltips provide a quick way to offer visitors additional information without overwhelming them with text. Let’s explore how you can achieve this with just a bit of CSS magic.
To get started, you’ll need to create a tooltip container within your HTML. Here’s a basic structure you can use:
Hover over me
        Tooltip text goes here
In the above example, the outer span will trigger the tooltip when hovered over, while the inner span contains the actual tooltip text. Now, let’s move on to the CSS styling that will bring this to life.
With the following CSS, you can create a simple yet effective tooltip:
.tooltip {
        position: relative;
        display: inline-block;
        cursor: pointer;
    }

    .tooltip .tooltiptext {
        visibility: hidden;
        width: 120px;
        background-color: black;
        color: #fff;
        text-align: center;
        border-radius: 6px;
        padding: 5px 0;
        position: absolute;
        z-index: 1;
        bottom: 125%; /* Position the tooltip above the text */
        left: 50%;
        margin-left: -60px; /* Center the tooltip */
        opacity: 0;
        transition: opacity 0.3s;
    }

    .tooltip:hover .tooltiptext {
        visibility: visible;
        opacity: 1;
    }
This CSS will create a tooltip that appears above the text when hovered over. You can customize the background color, text color, and width to match your site’s aesthetics. Here are a few additional styles you might consider:
- Add a shadow effect to the tooltip for a more 3D look.
- Change the transition duration for a quicker or slower appearance.
- Adjust the placement of the tooltip by changing the
bottomandleftproperties.
If you’re looking for an organized way to present your tooltip options, consider using a table. Here’s an example of how you could display different tooltip styles in a WordPress-friendly format:
| Tooltip Style | Background Color | Text Color |
|---|---|---|
| Standard | Black | White |
| Success | Green | White |
| Warning | Orange | Black |
With these techniques, you can easily implement tooltips on your WordPress site without relying on additional plugins. The combination of HTML and CSS not only keeps your website lightweight but also enhances the user experience. So go ahead, add those helpful hints and improve your visitors’ navigation with stylish tooltips!
Troubleshooting Common Tooltip Issues
While adding tooltips in WordPress can enhance user experience, you may encounter several common issues. Here’s how to troubleshoot them effectively.
1. Tooltip Not Appearing:
If your tooltip isn’t showing up, first check for any JavaScript errors in your console. Sometimes, conflicts with other plugins or themes can prevent tooltips from displaying. Here are a few steps to troubleshoot:
- Disable other plugins temporarily to identify any conflicts.
- Switch to a default theme (like Twenty Twenty-One) to see if the issue persists.
- Ensure that the tooltip class is correctly applied in your HTML.
2. Tooltip Styling Issues:
Your tooltip might appear but look unappealing. This can often be fixed with some custom CSS. Check the following:
- Inspect the tooltip element using your browser’s developer tools to see if any conflicting styles are affecting it.
- Add custom CSS to your theme or the customizer. For example:
.tooltip {
    background-color: #333;
    color: #fff;
    padding: 5px;
    border-radius: 4px;
    opacity: 0.8;
}
3. Tooltips Not Firing on Hover:
If the tooltips are supposed to appear on hover but don’t, check the event listeners associated with those elements. It’s possible that:
- JavaScript files are not loading correctly.
- CSS is overriding the visibility properties of the tooltips.
Ensure the tooltip is set to display on hover in your scripts:
$('.tooltip-target').hover(function() {
    $(this).find('.tooltip').fadeIn();
}, function() {
    $(this).find('.tooltip').fadeOut();
});
4. Responsiveness Issues:
Tooltips should be responsive to provide a seamless experience on all devices. If they appear cut off or misaligned on mobile, use this approach:
- Check your media queries to ensure tooltips resize appropriately.
- Use relative units for font sizes and padding.
By following these steps, you can tackle the most common issues that arise with WordPress tooltips and enhance your website’s functionality and user engagement.
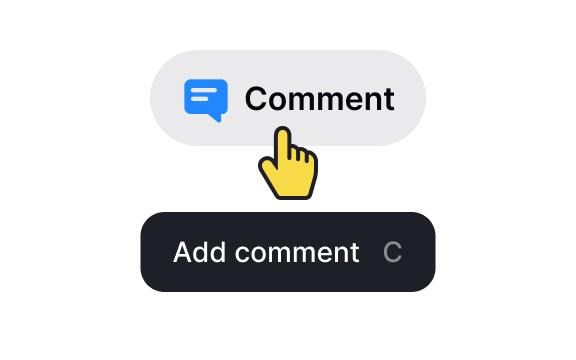
Enhancing User Experience with Effective Tooltip Usage
Tooltips serve as an invaluable tool in the realm of web design, offering users additional context without cluttering the interface. They act as interactive aids, enhancing comprehension and engagement by providing succinct information at a glance. When effectively implemented, tooltips can transform a good user experience into a great one.
There are several strategies to integrate tooltips within your WordPress site, whether through free plugins or custom CSS. Here’s why you should consider adding them:
- Improved Clarity: Tooltips can clarify complex terms or features, ensuring users understand what to expect without overwhelming them with information.
- Reduced Cognitive Load: By offering information on-demand, tooltips minimize the need for users to navigate away from their current task, streamlining the experience.
- Enhanced Accessibility: Properly designed tooltips can improve accessibility by ensuring that essential information is readily available for all users, including those who may struggle with typical navigation.
When choosing to implement tooltips, consider the placement and timing of their appearance. Tooltips should ideally trigger on hover or focus, providing a seamless interaction as users explore your content. For example, a simple CSS tooltip can be defined like this:
.tooltip {
    position: relative;
    display: inline-block;
}

.tooltip .tooltiptext {
    visibility: hidden;
    width: 120px;
    background-color: black;
    color: #fff;
    text-align: center;
    border-radius: 5px;
    padding: 5px;
    position: absolute;
    z-index: 1;
    bottom: 125%; /* Position above the text */
    left: 50%;
    margin-left: -60px;
    opacity: 0;
    transition: opacity 0.3s;
}

.tooltip:hover .tooltiptext {
    visibility: visible;
    opacity: 1;
}
This simple CSS code creates a tooltip that appears above the text when a user hovers over it. It’s a great way to add value without requiring users to take additional actions.
If you’re considering using a plugin, there are numerous options available in the WordPress repository. Here’s a quick comparison of some popular choices:
| Plugin Name | Features | Price |
|---|---|---|
| WP Tooltips | Easy to use, customizable styles | Free |
| Tooltips Pro | Advanced animations, icons support | $29/year |
| Smart Tooltips | Responsive design, multiple positions | $19/year |
Selecting the right tooltip solution can significantly enhance user interaction on your site. Whether you opt for a plugin’s robust features or the simplicity of CSS, the key is to ensure tooltips are intuitive and non-intrusive, maintaining the flow of the user experience. By utilizing tooltips effectively, you empower users to explore your content with confidence, ultimately leading to increased engagement and satisfaction.
Comparing Plugin Solutions with Custom CSS Approaches
When deciding between plugin solutions and custom CSS approaches for adding tooltips in WordPress, it’s essential to understand the strengths and weaknesses of each method. Plugins are often touted for their ease of use and extensive features, but they can also add unnecessary bloat to your site. On the other hand, custom CSS allows for a lightweight solution that can be tailored specifically to your design needs.
Pros of Using Plugins:
- User-Friendly: Most tooltip plugins come with intuitive interfaces that require no coding knowledge. You can customize settings with just a few clicks.
- Feature-Rich: Many plugins offer additional features like animations, positioning options, and even integration with other WordPress tools, enhancing the overall user experience.
- Regular Updates: Reputable plugins are frequently updated, ensuring compatibility with the latest WordPress versions and security patches.
Cons of Using Plugins:
- Performance Impact: Adding multiple plugins can slow down your site. Each one introduces additional scripts and styles that can lead to longer loading times.
- Dependency on Third-Party Developers: If a plugin is abandoned or not regularly updated, it can pose security risks or stop functioning altogether.
On the other hand, custom CSS can be a powerful alternative for those who prefer a hands-on approach. By writing your own styles, you gain complete control over the appearance and behavior of your tooltips.
Pros of Custom CSS:
- Lightweight: Since you are only adding the specific styles you need, your site remains fast and responsive.
- Tailored Design: You can create tooltips that perfectly match your theme without being restricted by the limitations of a plugin.
- No Extra Dependencies: Once you write your CSS, you don’t have to worry about future updates or plugin conflicts.
Cons of Custom CSS:
- Requires Coding Knowledge: If you’re not familiar with CSS, creating tooltips this way can be daunting and time-consuming.
- Limited Features: Unlike plugins, you may need to write additional code for advanced features like animations or dynamic content.
To help you visualize the comparison, here’s a quick overview:
| Criteria | Plugins | Custom CSS |
|---|---|---|
| Ease of Use | ⭐️⭐️⭐️⭐️⭐️ | ⭐️⭐️ |
| Performance | ⭐️⭐️⭐️ | ⭐️⭐️⭐️⭐️⭐️ |
| Customization | ⭐️⭐️⭐️ | ⭐️⭐️⭐️⭐️⭐️ |
| Security | ⭐️⭐️⭐️ | ⭐️⭐️⭐️⭐️⭐️ |
Ultimately, the choice between plugins and custom CSS boils down to your specific needs and skill level. If you’re looking for a quick and easy solution, a plugin might be the way to go. However, if you prioritize performance and customization, investing time in custom CSS could yield better long-term results.
Making the Right Choice: Plugin vs. CSS for Your Needs
When it comes to enhancing your WordPress site with tooltips, you’re faced with a common dilemma: should you opt for a plugin or go the CSS route? Both options have their merits, and your choice will ultimately depend on your specific needs, technical skills, and the level of customization you desire.
Plugins offer a user-friendly approach, particularly for those who may not be comfortable diving into code. With a plethora of tooltip plugins available, you can easily find one that fits your requirements. Here are some benefits of using a plugin:
- Instant Setup: Most plugins come with quick installation and setup, allowing you to add tooltips in no time.
- Customizable Features: Many plugins offer various customization options, such as colors, animations, and positioning, all through a simple interface.
- Compatibility: Well-maintained plugins are regularly updated to work seamlessly with the latest versions of WordPress, reducing the risk of conflicts.
However, while plugins can be convenient, they may also come with drawbacks. Each additional plugin can slow down your site, increase the complexity of your setup, and pose security risks if not updated regularly. If you’re looking for a lightweight solution, you might want to consider the CSS option.
CSS provides a more streamlined and efficient way to add tooltips, especially if you’re comfortable with coding. By using CSS, you can create tooltips that are lightweight and load faster since you’re not relying on a third-party plugin. Here are some advantages of using CSS for your tooltips:
- Performance Optimization: Fewer plugins mean a faster loading time and improved site performance.
- Full Control: With CSS, you can customize every aspect of your tooltip, from its appearance to its behavior, without any limitations imposed by a plugin.
- No Overhead: You won’t need to worry about plugin compatibility issues or excessive resource consumption.
To help you weigh your options further, consider the following comparison table:
| Criteria | Plugin | CSS |
|---|---|---|
| Ease of Use | ✔️ User-friendly interface | ❌ Requires coding knowledge |
| Customization | ✔️ Limited by plugin features | ✔️ Fully customizable |
| Performance | ❌ Can slow down site | ✔️ Lightweight and fast |
| Maintenance | ✔️ Needs regular updates | ✔️ No updates needed |
Ultimately, the decision boils down to your comfort level with coding and your site’s specific needs. If you prioritize simplicity and ease of use, a plugin might be the best choice for you. On the other hand, if you seek performance and full control over your design, CSS could be the way to go.
Frequently Asked Questions (FAQ)
Q&A: How to Add a WordPress Tooltip in 3 Ways: Free Plugin or CSS
Q1: What exactly is a tooltip?
A1: Great question! A tooltip is a small, informative pop-up that appears when a user hovers over an element on your website, like a word or an image. It provides additional context or information without cluttering your page. Think of it as a helpful little nudge to enhance your visitors’ experience!
Q2: Why should I consider adding tooltips to my WordPress site?
A2: Tooltips can significantly improve user engagement and comprehension. By providing extra information on demand, you make your content more accessible, keeping your visitors on the page longer. Plus, they add a sleek, interactive element to your website, making it feel more professional and user-friendly.
Q3: What are the three ways to add tooltips that you’ll cover?
A3: We’ll explore three methods: using a free WordPress plugin, adding custom CSS, and implementing a little bit of JavaScript. Each method has its perks, so you can choose the one that best fits your skill level and needs!
Q4: What’s the advantage of using a free plugin?
A4: Plugins are super convenient! They streamline the process, requiring little to no coding skills. Many tooltip plugins offer customization options, so you can easily tailor the look and feel of your tooltips to match your site’s design. Plus, they often come with support and updates, making your life easier!
Q5: What about using CSS? Is it complicated?
A5: Not at all! If you have some basic understanding of CSS, this method can be incredibly rewarding. It allows for complete customization, meaning you can design your tooltips exactly how you want. However, if you’re new to CSS, it might take a bit more time to get the hang of it. But don’t worry—there are plenty of resources to help you out!
Q6: Can I combine both methods?
A6: Absolutely! You can start with a plugin for ease, then tweak the styles with CSS to give your tooltips a unique flair. This hybrid approach lets you enjoy the best of both worlds!
Q7: Are there any downsides to using tooltips?
A7: While tooltips can enhance user experience, it’s essential not to overload your site with too much information. Keep your tooltips concise and relevant. Also, consider accessibility; ensure that all users can access the information, even if they can’t hover.
Q8: Where can I find detailed instructions for each method?
A8: In the article, we’ll provide step-by-step instructions for each approach, complete with screenshots and examples. Whether you’re a WordPress newbie or a seasoned developer, you’ll find it easy to follow along!
Q9: Is it worth the effort to add tooltips?
A9: Absolutely! The effort you put into adding tooltips can pay off in user satisfaction and engagement. It’s a small enhancement that can make a big difference in how visitors interact with your content. Trust us; your readers will thank you for the extra insights!
Q10: Ready to get started?
A10: Yes! Dive into the article for more details and start making your WordPress site even more engaging and informative with tooltips. You’ve got this!
Closing Remarks
And there you have it! Adding a tooltip to your WordPress site can be a game-changer for enhancing user experience and providing valuable information without cluttering your content. Whether you choose the simplicity of a free plugin or prefer the hands-on approach of custom CSS, you’ve got the tools you need to elevate your site’s interactivity.
Remember, a well-placed tooltip can guide your visitors, answer their questions, and keep them engaged longer. So why not give it a try? Experiment with the different methods we’ve discussed, and see which one best fits your style. Your readers will thank you!
If you found this guide helpful, don’t forget to share it with fellow WordPress users or drop a comment below about your own experiences with tooltips. Happy WordPress-ing!

