Need to grab images from your WordPress Media Library? You’re in luck! Whether you want to download a single image, multiple files, or even use a plugin for bulk downloads, I’ve got you covered. Let’s explore three simple methods to make it a breeze!
How to Download Images From WordPress Media Library: 3 Ways
Are you looking to download images from your WordPress Media Library but not quite sure how to go about it? You’re not alone! Many users find themselves in a bit of a pickle when trying to grab those precious images for personal use or to share on social media. The good news is, it’s easier than you might think! Whether you’re a seasoned blogger, a small business owner, or just someone who loves to create, having access to your images is crucial. In this article, we’ll guide you through three simple and effective ways to download images from your WordPress Media Library. So, grab a cup of coffee, sit back, and let’s dive into these handy techniques that will make image downloading a breeze!
Understanding the WordPress Media Library Features
The WordPress Media Library is an essential tool for anyone managing a website. It serves as a centralized repository for all your media files, including images, videos, audio files, and documents. Familiarizing yourself with its features can significantly enhance your content management process.
One of the standout features of the Media Library is its ability to organize and manage your files seamlessly. You can:
- Upload files directly from your device with just a click.
- Sort and filter your media items by type, date, or even by specific tags.
- Search for files using keywords, making it easier to find the exact media you need.
Additionally, the Media Library offers editing options that allow you to make quick adjustments without needing third-party software. You can:
- Crop images to focus on the most important elements.
- Rotate or flip images to enhance their layout.
- Adjust the contrast and brightness for a polished look.
Another impressive feature is the ability to create image galleries. By selecting multiple images, you can not only display them in a visually appealing format but also enhance your posts or pages’ engagement levels. This feature is particularly useful for bloggers and businesses that rely on visual storytelling.
To make things even better, the Media Library integrates with various plugins that expand its functionality. Whether you want to add a watermark to your images or optimize them for SEO, there’s likely a plugin that’s right for you. This flexibility means you can tailor the Media Library to fit your unique needs.
understanding and leveraging the features of the WordPress Media Library can elevate your content creation process. From managing and editing files to creating stunning galleries and integrating plugins, the Media Library is a powerhouse that every WordPress user should master.
Why Downloading Images is Essential for Your Projects
In the fast-paced digital world, having access to high-quality images is essential for enhancing your projects. Whether you’re crafting a blog post, designing a website, or working on marketing materials, images help convey your message more effectively. Here’s why securing images from the WordPress Media Library can elevate your work:
First and foremost, visual content captures attention. Studies show that people are more likely to engage with content that includes images rather than plain text. By downloading images from the Media Library, you ensure that your projects stand out, drawing readers in and keeping them interested. A compelling image can evoke emotions and create a connection that words alone may not achieve.
Moreover, utilizing downloaded images allows for consistent branding. If your project requires a specific aesthetic or theme, having a library of images at your disposal enables you to maintain a cohesive look across all platforms. This consistency helps establish your identity and builds trust with your audience. It’s not just about having any image; it’s about having the right image that aligns with your brand’s message.
Additionally, saving images locally can enhance your workflow. Depending on your internet connection, relying on online access can slow down your productivity. Downloading images enables you to work offline, ensuring that you’re not hindered by connectivity issues. This is particularly useful for freelancers or teams working in remote areas where internet access may be unreliable.
Don’t overlook the importance of image optimization. By downloading images and editing them to fit your project’s specifications, you can ensure they are not only visually appealing but also optimized for web performance. Properly sized and compressed images lead to faster loading times, which is crucial for SEO and user experience. Plus, it allows you to maintain control over the quality and format of the images you use.
let’s not forget about the legal aspect. When you download images from the WordPress Media Library, you’re typically using images that you have rights to. This reduces the risk of copyright issues that can arise from using stock photos or images from other sources without permission. By keeping your image selection within the boundaries of your WordPress site, you’re safeguarding your projects against potential legal troubles.
downloading images from the WordPress Media Library not only enhances the visual appeal of your projects but also ensures consistency, improves workflow, optimizes performance, and maintains legality. Taking these steps can significantly contribute to the overall success of your efforts.
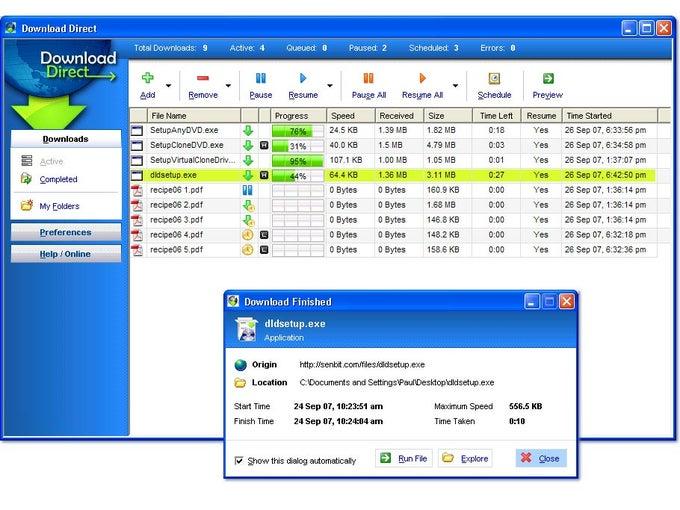
Exploring the First Method: Direct Download from the Media Library
When it comes to downloading images from your WordPress Media Library, the most straightforward method is a direct download. This approach is as simple as a few clicks and can be done in just a couple of minutes. Here’s how you can easily grab those images without any hassle.
First things first, you’ll need to log into your WordPress dashboard. Once you’re in, navigate to the Media section located in the left sidebar. Click on Library to get a complete view of all the images and media files you’ve uploaded. This library is your treasure trove, filled with visual content ready for download!
In the Media Library, you will see various thumbnails of your images. Hover over the image you want to download, and you’ll notice a few options appear. Click on Edit to open the media details. Here, you can see important information about the image, but more importantly, you’ll find the File URL. This is where the magic happens!
To download the image, simply right-click on the thumbnail or the file URL and choose the Save Image As option. This will prompt your browser to download the file to your computer. Easy, right? However, if you want to keep your downloads organized or if you’re dealing with multiple images, you might want to take note of some handy tips:
- Quality Check: Ensure that you are downloading the correct size of the image. WordPress often saves multiple sizes, so choose wisely!
- File Naming: Rename your images for better SEO and easier organization on your computer.
- Batch Downloading: If you have multiple images to download, consider using a plugin that allows for batch downloads from the Media Library.
If you’re dealing with a large number of images, a direct approach might be time-consuming, but for quick downloads, this method is unbeatable. With just a few clicks, you can have your favorite images saved on your device, ready for use in your next project or blog post.
| Action | Steps |
|---|---|
| Log into Dashboard | Access your WordPress admin area. |
| Navigate to Media | Click on the Media section in the sidebar. |
| Find Your Image | Hover and click on Edit for the desired image. |
| Download Image | Right-click and select Save Image As. |

Step-by-Step Guide to Downloading Images Manually
Downloading images manually from the WordPress Media Library can be a straightforward process if you follow these easy steps. First, navigate to your WordPress dashboard and click on Media located on the left-hand side menu. This will take you directly to your Media Library, where you can see all the images and files that you’ve uploaded.
Once you’re in the Media Library, locate the image you want to download. You can browse through the library or use the search bar to find it quickly. After you find your desired image, click on it. This will open the media details in a new window, displaying the image along with some metadata.
In the media details view, you’ll see a button labeled Download. Clicking this button will initiate the download of the image to your computer. Depending on your browser settings, the image may automatically download to your default download folder, or you may be prompted to choose a location to save the file. Ensure you remember where you saved the image for easy access later!
If you want to organize your downloaded images further, consider creating dedicated folders on your computer for different projects or categories. This way, you can easily keep track of your assets and find them when needed.
For a quick recap, here’s a simple table that sums up the steps to download images:
| Step | Action |
|---|---|
| 1 | Navigate to Media in your dashboard. |
| 2 | Locate and click on the image you want to download. |
| 3 | Click the Download button to save the image. |
By following these simple steps, you can easily download images from your WordPress Media Library without any hassle. It’s a great way to retrieve important media files for your projects or to back them up on your local storage. So go ahead and give it a try!
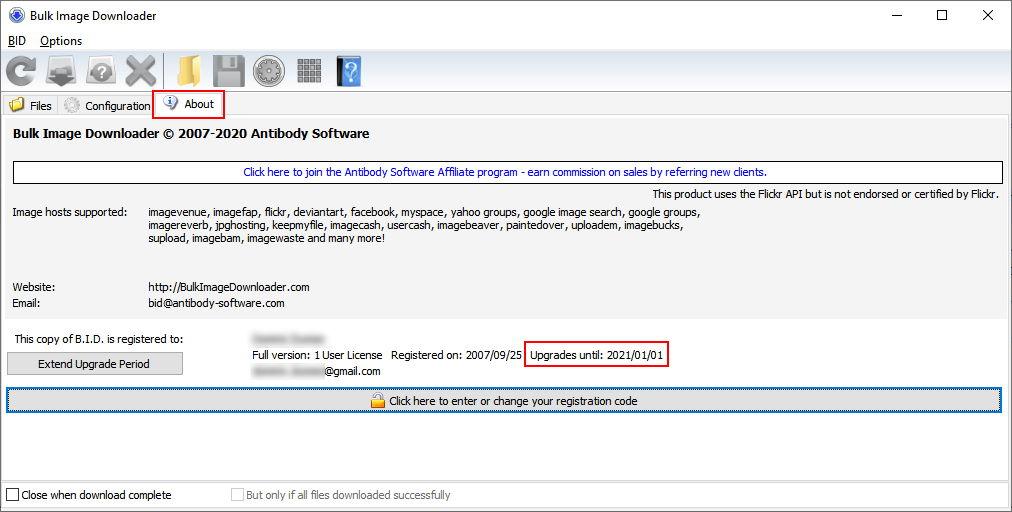
Utilizing the Bulk Download Option for Efficiency
If you’re managing a WordPress site with a substantial media library, the bulk download option can transform how you handle your images. Instead of downloading files one-by-one, which can be time-consuming and tedious, this feature lets you grab everything you need in just a few clicks. Here’s how to make the most of this handy tool.
To access the bulk download option, navigate to your WordPress dashboard and head to the Media section. This is where you can see all of your uploaded files laid out in an organized manner. Rather than scrolling endlessly through your media library, use the filter options to sort images by date, type, or even size for a more targeted approach.
Once you’ve selected the images you want to download, simply check the boxes next to each file. If your goal is efficiency, take advantage of the Select All feature. This way, you can swiftly mark every image you need without the hassle of clicking each one individually. After making your selections, look for the Download button that appears. Clicking this will initiate a compressed zip file of all your chosen media, making it convenient to store or transfer to another platform.
Using the bulk download option not only saves time but also helps maintain organization. Consider creating folders on your local machine that match your WordPress structure. For instance, if you frequently update blog posts, you might have a folder labeled “Blog Images” where you can easily access your downloaded files later.
To ensure you’re making the best use of your media library, regularly clean out unused images. By doing this before a bulk download, you streamline your workflow, as you’ll only be downloading relevant files. Here’s a quick table showing some best practices for media organization:
| Practice | Description |
|---|---|
| Regular Cleanup | Remove unused images to keep your library efficient. |
| Folder Structure | Create folders for different categories, like “Blog” or “Products”. |
| Consistent Naming | Use clear, descriptive names for easier identification. |
leveraging the bulk download option can significantly enhance your workflow. By adopting these practices, you’ll not only make your image management smoother but also ensure that you’re working more efficiently as you grow your content library.
Leveraging Plugins for Easy Image Downloads
One of the most efficient ways to simplify image downloads from your WordPress Media Library is by utilizing plugins. These tools not only enhance the functionality of your site but also streamline the image management process. Below, we’ll explore some popular plugins that can make downloading images a breeze.
Easy Media Downloads is a standout choice for anyone looking to add a straightforward method for users to download images. This plugin integrates seamlessly with your existing media files and allows you to designate specific images for download. You can customize buttons, create download links, and even track the number of downloads, making it an invaluable tool for photographers and content creators alike.
Another fantastic option is Download Monitor. This plugin offers a comprehensive solution for managing file downloads. With its simple interface, you can easily upload images and create dedicated download pages. You can even categorize your downloads and track analytics, ensuring that you understand which images resonate most with your audience. This plugin is particularly useful if you intend to offer downloadable image packs or galleries.
If you’re looking for a more visual approach, consider using WP File Download. This plugin provides a user-friendly interface that allows you to organize your media files into categories. Users will appreciate the attractive layout, and you can configure permissions to control who can download specific images. The drag-and-drop file management system makes it simple to keep your media library organized and accessible.
| Plugin | Features | Best For |
|---|---|---|
| Easy Media Downloads | Custom buttons, download tracking | Photographers, content creators |
| Download Monitor | File categorization, analytics | Digital product sellers |
| WP File Download | Drag-and-drop manager, user permissions | Organizing large media collections |
By leveraging these plugins, you can significantly improve the user experience on your site. Whether you’re a blogger, an artist, or a business owner, simplifying the download process will encourage more users to interact with your content. With just a few clicks, you can enhance your site’s functionality and make your images more accessible.
Top Recommended Plugins for Bulk Image Downloads
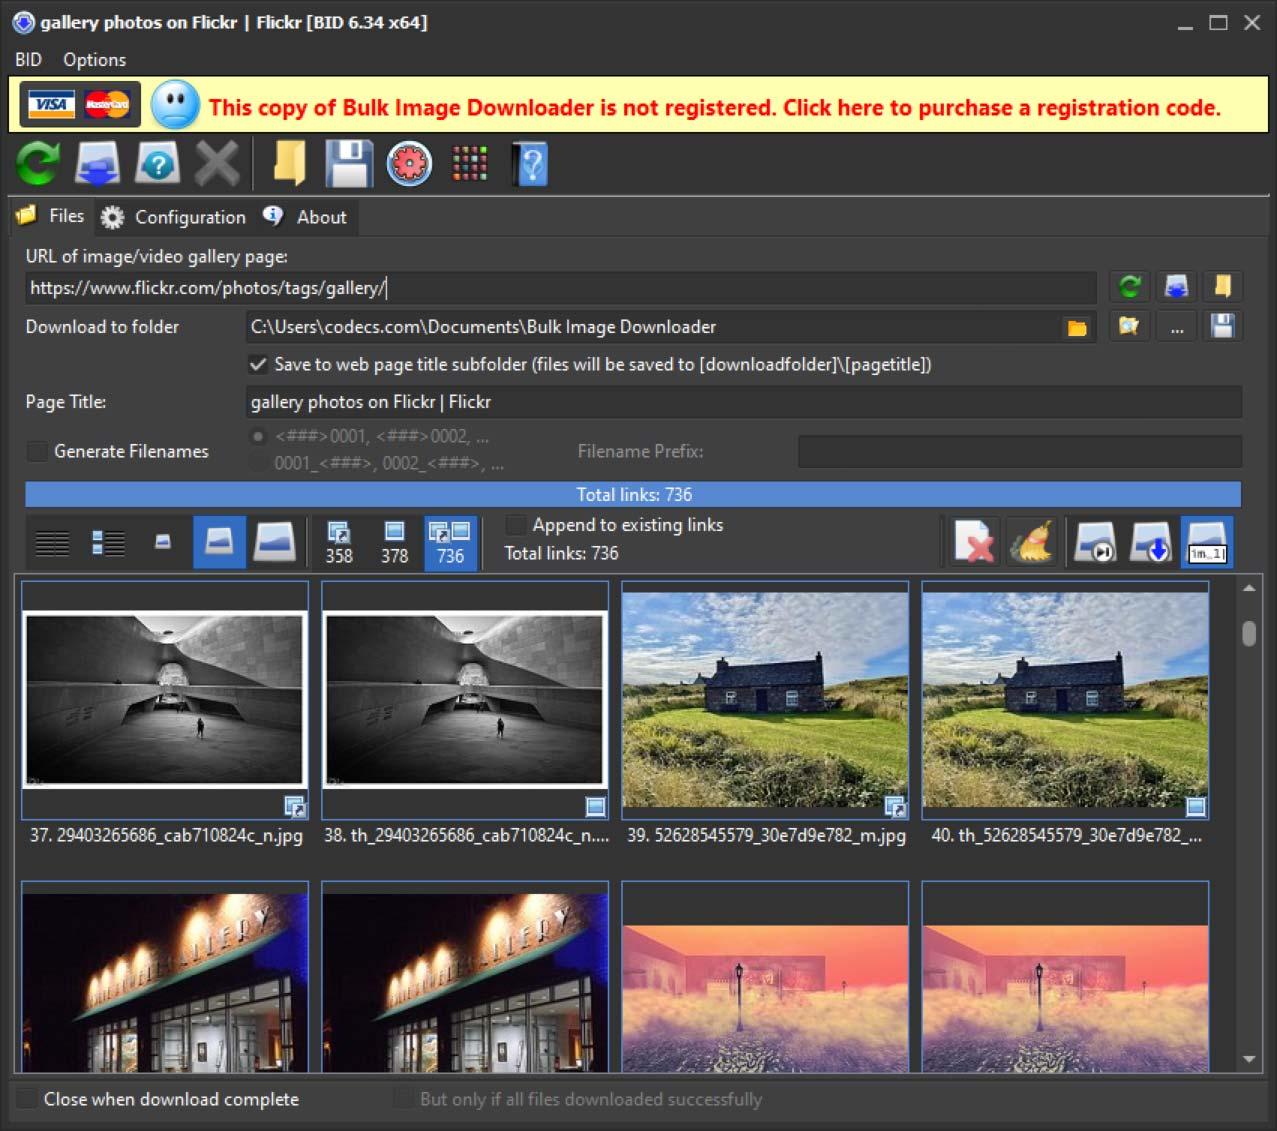
If you’re looking to streamline your workflow and save time when downloading images from your WordPress Media Library, utilizing the right plugins can make all the difference. Here’s a selection of top recommended plugins that are perfect for bulk image downloads, ensuring you have everything you need at your fingertips.
- Media Tools: This comprehensive plugin allows you to manage your media library more efficiently. With its bulk download feature, you can select multiple images at once and download them in a zip file, making the process quick and hassle-free.
- Download Gallery: Perfect for photographers and creatives, this plugin enables you to create downloadable galleries with ease. You can select specific images or entire galleries to download, providing flexibility and convenience.
- WP All Export: Ideal for users needing extensive customization, this powerful export tool enables you to bulk download images along with their metadata. You can tailor the export process to fit your needs, ensuring you get exactly what you’re looking for.
When selecting a plugin, consider the following features:
| Plugin Name | Key Features | Best For |
|---|---|---|
| Media Tools | Bulk download, zip files, user-friendly | General users |
| Download Gallery | Gallery downloads, custom selection | Photographers, artists |
| WP All Export | Metadata export, customizable | Advanced users |
These plugins not only enhance your downloading experience but also provide additional functionalities that can improve your overall media management. Whether you’re a beginner or an advanced user, you can find a plugin that suits your specific needs.
Additionally, many of these plugins come with excellent support and documentation. This ensures that even if you encounter any issues, you’ll have resources at your disposal to troubleshoot and resolve them quickly. So why wait? Boost your productivity by implementing these bulk image download plugins today!
Ensuring Image Quality During the Download Process
When downloading images from the WordPress Media Library, maintaining the highest possible quality is crucial for ensuring that your visuals remain sharp, vibrant, and professional. Here are some strategies to help you preserve image quality during the download process:
- Choose the Right Format: Before downloading, check the format of your images. JPEG is great for photographs, while PNG is ideal for images that require transparency. Understanding the best format for your needs can significantly affect the perceived quality.
- Download Original Files: Always opt to download the original files rather than a compressed version. This can usually be done by clicking the ’Download’ button next to the image in the Media Library. Original files retain all the details and color accuracy.
- Check Image Dimensions: Be mindful of the dimensions of the images you are downloading. Images that are resized too small can lose detail and clarity. Always download images in their original size for better results, especially for print or high-resolution displays.
Another key consideration is the use of plugins that may impact image quality. While many plugins can optimize images for faster loading times, they can also inadvertently reduce quality. Here are some points to remember:
- Disable Compression: If you’re using an optimization plugin, check its settings to ensure that image compression is either disabled or set to a minimum level. This allows you to keep the quality intact while still benefiting from faster load times.
- Test Before and After: Always test your images before and after downloading them. Compare the downloaded version with the original on your site to see if there are any noticeable changes in quality.
In addition to these practices, consider implementing the following to further ensure image quality:
| Best Practices | Description |
|---|---|
| Use High-Resolution Images | Opt for images that are at least 300 DPI if you plan to print them, ensuring they maintain clarity. |
| Backup Your Media | Regularly back up your media library to prevent loss of high-quality images. |
| Regular Updates | Keep your WordPress site and plugins updated to minimize issues that could affect image quality. |
By embracing these strategies, you can ensure that the images you download from the WordPress Media Library are not only high-quality but also suitable for a variety of applications. Whether you’re preparing for a blog post, an online portfolio, or marketing materials, maintaining image integrity is essential for projecting a polished and professional image.

Troubleshooting Common Download Issues
Downloading images from the WordPress Media Library should be a seamless process, but sometimes issues arise that can frustrate users. If you’re encountering problems, here are some common issues and how to troubleshoot them effectively.
Check Your Internet Connection: A slow or unstable internet connection can hinder the downloading process. Ensure that your connection is strong. You can try:
- Restarting your router.
- Switching to a wired connection.
- Testing your speed on an online speed test tool.
Browser Compatibility: Sometimes, the browser you are using may not be fully compatible with WordPress. Try the following:
- Clearing your browser cache and cookies.
- Updating your browser to the latest version.
- Switching to a different browser (e.g., Chrome, Firefox, or Safari).
File Permissions: If you’re unable to download images, it might be a permissions issue. Check the following:
- Access the WordPress dashboard.
- Ensure that the media folder has the correct permissions (typically 755 for folders and 644 for files).
- Consult your hosting provider if you’re unsure how to check or change these permissions.
Image Formats: Ensure that the images you are trying to download are in a supported format. Here’s a quick table of common formats:
| Image Format | Supported by Browsers |
|---|---|
| JPEG | ✔️ |
| PNG | ✔️ |
| GIF | ✔️ |
| WebP | ✔️ |
Plugin Conflicts: Sometimes, plugins can interfere with the download process. To troubleshoot:
- Temporarily deactivate all plugins.
- Attempt to download the image again.
- Reactivate plugins one by one to identify the culprit.
Contacting Support: If none of these solutions work, it might be time to reach out for help. Consider:
- Contacting your hosting provider for server-related issues.
- Consulting the WordPress forums or support community.
Best Practices for Organizing Downloaded Images
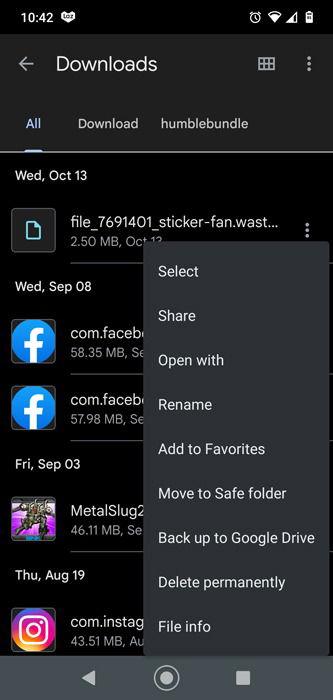
Keeping your downloaded images organized is essential for maintaining a smooth workflow and easy access to your media. Here are some strategies to help you manage your images effectively:
- Create a Consistent Naming Convention: Develop a straightforward naming system for your images that includes relevant keywords. For example, use the format post-title-date.jpg. This will help you quickly identify and locate files when needed.
- Sort by Categories: Use folders to categorize your images based on their purpose. For instance, create separate folders for blog posts, social media, and projects. This way, you won’t waste time searching through a cluttered folder.
- Utilize Metadata: Take advantage of image metadata to store additional information about your photos. Tools like Adobe Bridge or Lightroom allow you to add tags, captions, and other details that can aid in searching later.
Another effective method is to leverage cloud storage solutions for backup and remote access. This ensures your images are safe while allowing you to access them from any device. Here’s a quick comparison of popular cloud storage options:
| Service | Storage Space | Best For |
|---|---|---|
| Google Drive | 15 GB (Free) | Collaboration |
| Dropbox | 2 GB (Free) | File Sharing |
| OneDrive | 5 GB (Free) | Integration with Microsoft |
consider incorporating image management software to streamline your workflow. These tools often come with features like bulk renaming, tagging, and advanced search functionalities, which can save you significant time. Popular options include:
- Adobe Lightroom: Excellent for photographers who need robust editing and organizing tools.
- ACDSee: Offers a user-friendly interface with powerful management features.
- Photo Mechanic: Ideal for rapid ingestion and organization of large volumes of images.
By implementing these best practices, you can significantly enhance your efficiency and ensure that your downloaded images are always at your fingertips. Proper organization will not only speed up your workflow but also reduce frustration and increase productivity.

Maximizing Your Downloads: Tips for Image Management
Managing your images effectively can significantly enhance your site’s performance and user experience. When optimizing your downloads from the WordPress Media Library, it’s essential to understand the various methods at your disposal. Here are some strategies that can help you maximize your downloads while keeping your media library organized.
Utilize Bulk Download Options
One of the most efficient methods for downloading multiple images at once is to take advantage of bulk download options. This is particularly useful if you’re planning a site redesign or need to back up your media files. Here’s how you can do it:
- Navigate to the Media Library.
- Select the images you want to download by checking the boxes next to them.
- Use a plugin like Export Media Library to bundle your images into a single downloadable file.
Organize with Categories and Tags
Another key to maximizing your download efficiency is to properly organize your images. By categorizing and tagging your media files, you can easily locate and manage them when downloading. Here’s how you can enhance your organization:
- Create categories based on themes or project types.
- Use tags for specific details, such as colors or styles.
- Regularly review and update your organization to keep it relevant.
Optimize Image Sizes Before Downloading
Before downloading images, it’s wise to ensure they’re optimized for both quality and file size. Large files can slow down your site, impacting user experience and SEO. Here are a few tips to consider:
| Tip | Description |
|---|---|
| Resize Images | Ensure images are appropriately sized for their intended use. |
| Use Compression Tools | Utilize plugins like Smush to compress images without losing quality. |
| Choose the Right Format | Use JPEG for photos and PNG for graphics with transparency. |
By following these tips, you can streamline your download process and maintain an organized, efficient media library. This not only saves you time but also ensures that your images are in the best possible condition for use across your website. Experiment with these strategies to discover what works best for your workflow!
The Final Touch: Checking Your Downloads for Success
Congratulations on successfully downloading your images! However, before you move on, it’s essential to perform a check to ensure everything is in order. Here are a few steps to guarantee your downloads are as successful as they should be:
- Verify File Format: Ensure that the images are in the format you need, whether it’s JPEG, PNG, or GIF. This can save you headaches later when trying to use the images in various applications.
- Inspect Image Quality: Open each downloaded file to check if the resolution meets your expectations. High-quality images should be sharp and not pixelated, giving you the best result for your projects.
- Check for Completeness: Sometimes, downloads can be interrupted. Make sure all images downloaded completely and without any missing content.
If you’re managing multiple images, it’s a good practice to create a simple inventory to help you track which files you’ve downloaded. Consider using a table like the one below:
| Image Name | File Format | Resolution | Status |
|---|---|---|---|
| Image_1.jpg | JPEG | 1920 x 1080 | Downloaded |
| Image_2.png | PNG | 800 x 600 | Downloaded |
| Image_3.gif | GIF | 640 x 480 | Downloaded |
Additionally, consider keeping a backup of your downloaded images. You never know when a file may become corrupted or accidentally deleted. You can utilize cloud storage solutions or an external hard drive for safekeeping.
Lastly, if you’re using these images for web purposes, always test how they appear on your website. Sometimes, images may need optimization before uploading, such as adjusting sizes or compressing files to enhance loading speeds. This step will not only improve user experience but also positively impact your site’s SEO.
Frequently Asked Questions (FAQ)
Q&A: How to Download Images From WordPress Media Library: 3 Ways
Q: Why would I need to download images from my WordPress Media Library?
A: Great question! There are a variety of reasons. Maybe you want to use those images for a different project, create backups, or share them with a collaborator. Whatever the reason, having easy access to your images can save you time and frustration in the long run.
Q: Are there multiple ways to download images from the Media Library?
A: Absolutely! In fact, that’s what we’re discussing today. There are three straightforward methods to download images from your WordPress Media Library. Each has its perks, so you can choose the one that best fits your needs.
Q: What’s the first method? Can you explain it a bit?
A: Sure thing! The first method is the most direct. Simply navigate to your Media Library in the WordPress dashboard, find the image you want, hover over it, and click the “Download” link that appears. It’s quick and perfect for downloading single images!
Q: Sounds easy! But what if I want to download multiple images at once?
A: Great question! If you’re looking to bulk download, the second method is your best bet. You can use a plugin like “Export Media Library.” Once installed, you can select multiple images and download them all in a zip file. This is super handy if you’re migrating content or just want to gather a bunch of images quickly!
Q: What if I don’t want to use a plugin? Is there another way?
A: Yes! The third method involves using your web browser’s developer tools. It’s a little more technical, but if you’re comfortable with it, you can right-click on the image and select “Open image in new tab.” From there, you can easily download it. This method is especially useful for high-resolution images.
Q: Are there any tips to keep in mind while downloading images?
A: Definitely! Always make sure to check your image’s file size before downloading. Large files can take up a lot of space and slow down your computer. Also, consider organizing your images into folders after downloading them, so you can easily find them later. Trust me, it saves a lot of headaches!
Q: I’m worried about copyright issues. Should I be cautious when downloading images?
A: Absolutely! Always ensure that you have the right to download and use the images you’re accessing. If you’ve uploaded them yourself or have permission to use them, you’re in the clear. But if there’s any doubt, it’s best to double-check!
Q: This sounds super helpful! Where can I find more information on this topic?
A: You’re already in the right place! Our article dives deeper into each method, providing step-by-step guides and tips. Plus, checking out WordPress forums and documentation can give you additional insights and troubleshooting help. Happy downloading!
Future Outlook
And there you have it! Downloading images from your WordPress Media Library doesn’t have to be a hassle. Whether you prefer using the built-in options, leveraging plugins for more functionality, or diving into the world of code, you now have multiple ways to access your images with ease.
Remember, your images are an essential part of your content, and having them at your fingertips can make a world of difference. So, the next time you need to grab an image, don’t hesitate—choose the method that suits you best and get downloading!
If you found this guide helpful, why not share it with fellow bloggers or creatives? And if you have any tips or tricks of your own, feel free to drop them in the comments below. Happy downloading!
