Setting up a WordPress staging site is a game-changer! It allows you to test changes without risking your live site. In just a few simple steps, you can create a safe space to experiment, ensuring your site runs smoothly. Ready to dive in? Let’s get started!
Beginner’s Guide: How to Set Up a WordPress Staging Site
Are you ready to take your WordPress website to the next level while keeping your sanity intact? If you’ve ever worried about making changes to your site and accidentally breaking something in the process, then you’re in the right place! Creating a staging site might sound a bit technical, but trust us, it’s a game-changer for anyone serious about their online presence. Think of it as a safe playground where you can experiment with new themes, plugins, or design tweaks without the fear of disrupting your live site. In this beginner’s guide, we’ll walk you through the simple steps to set up your own WordPress staging site, ensuring you can test and launch changes with confidence. So, grab a cup of coffee and let’s dive into the world of staging sites together—your future self will thank you!
Understanding the Importance of a Staging Site for Your WordPress Project
Creating a staging site is crucial for anyone looking to manage a WordPress project effectively. This separate environment allows you to test changes, updates, and new functionalities without affecting your live website. Here are some key reasons why a staging site is a must-have:
- Safe Testing Ground: With a staging site, you can freely experiment with themes, plugins, and custom code. If something goes wrong, your live site remains untouched, ensuring your visitors don’t encounter any issues.
- Easy Debugging: Encountering a bug? You can easily troubleshoot on your staging site. Since the changes won’t impact the live site, you can take your time to resolve the issue without the pressure of downtime.
- Enhanced Collaboration: If you work with a team, a staging site allows for better collaboration. Team members can review and test changes without waiting for them to be pushed live, making the feedback process smoother.
- Better Performance Verification: Before launching a new feature or design, testing it in a staging environment helps you assess its performance. You can check load times and responsiveness, ensuring everything runs smoothly when it goes live.
- SEO Safety: Testing changes on your staging site helps maintain SEO rankings. Any mistakes made during updates won’t negatively impact your SEO, as the live site remains unaffected.
Implementing a staging site is simpler than you might think. Many hosting providers offer one-click staging setups, or you can do it manually if you’re more tech-savvy. Regardless of the method chosen, the peace of mind it provides is invaluable.
| Benefits of a Staging Site | Impact on Your Project |
|---|---|
| Safe Testing | No risk to live site |
| Debugging | Quick fixes |
| Collaboration | Faster feedback |
| Performance Checks | Optimized user experience |
| SEO Protection | Maintained rankings |
a staging site is an indispensable tool for any WordPress project. It enhances your ability to make changes confidently, streamlines collaboration, and protects your website from potential pitfalls. Investing time in setting one up will ultimately save you from headaches in the future.
Choosing the Right Hosting Provider for Your Staging Environment
When you’re ready to set up a staging site for your WordPress project, one of the most crucial decisions you’ll make is selecting the right hosting provider. A staging environment is where you can safely test changes, updates, and new themes without affecting your live site. Here are some factors to consider when making your choice:
- Performance: Look for a hosting provider that offers high-speed servers and optimized resources. A laggy staging site can lead to inaccurate testing results.
- Ease of Use: Choose a host with a user-friendly control panel that simplifies the management of your staging environment. Ideally, it should allow one-click staging setup.
- Support: Reliable customer support is vital, especially if something goes wrong. Look for providers that offer 24/7 support via multiple channels.
- Backup Solutions: A good hosting provider will offer regular backups, ensuring you can restore your staging site quickly if needed.
- Scalability: Consider a host that can grow with you. As your site evolves, your staging environment may require more resources.
Another important aspect is the location of the servers. Choosing a hosting provider with data centers closer to your target audience can significantly improve loading times. Additionally, check if they offer a Content Delivery Network (CDN) option, which can further enhance the performance of your staging site.
If you’re working on a team, you may need to consider how easy it is to collaborate on the staging site. Some hosting providers offer features that allow multiple users to access the staging environment, along with permission controls. This can be especially beneficial if you’re working with developers or designers who need to test their changes.
| Hosting Provider | Key Features | Average Price |
|---|---|---|
| SiteGround | High performance, excellent support, daily backups | $6.99/month |
| Bluehost | User-friendly, one-click installs, scalable options | $2.95/month |
| Kinsta | Premium performance, built-in CDN, expert support | $30/month |
Ultimately, the right hosting provider for your staging environment will depend on your specific needs and budget. Take the time to evaluate your options, read reviews, and even reach out to customer support for any questions you may have. A solid foundation in your staging environment will pave the way for a smoother development process and a more successful final product.
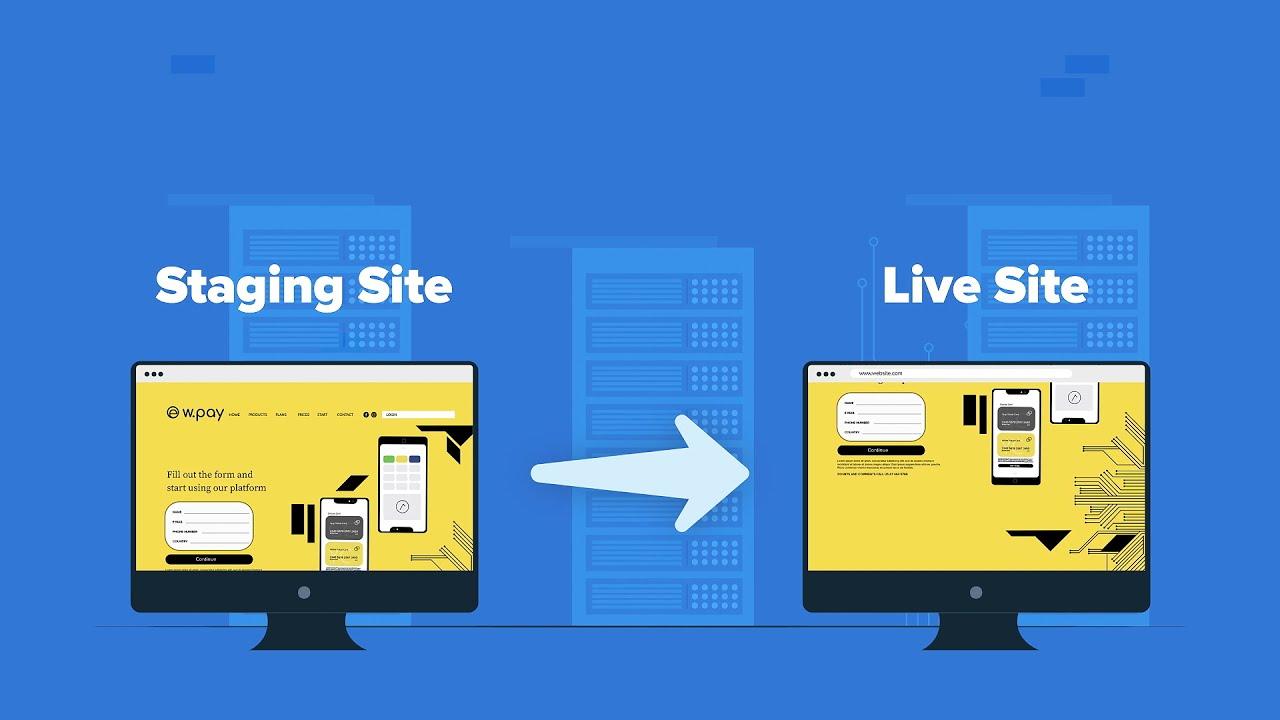
Step-by-Step Guide to Creating Your WordPress Staging Site
Creating a staging site for your WordPress website is a smart way to test changes without affecting your live site. It allows you to experiment with themes, plugins, and major updates safely. Here’s how you can set up your own staging site in just a few straightforward steps.
Choose Your Method
There are several ways to create a staging site. Consider the following options:
- Using a Plugin: This is the easiest method for beginners. Plugins like WP Staging or Duplicator streamline the process.
- Manual Duplication: If you’re comfortable with coding, you can manually create a copy of your site on a subdomain.
- Hosting Provider Options: Some hosting services offer built-in staging tools. Check with your provider for this feature.
Using a Plugin
If you opt for a plugin, follow these simple steps:
- Install and activate your chosen staging plugin.
- Navigate to the plugin’s settings and select the option to create a new staging site.
- Follow the prompts to complete the process, which typically involves clicking a button to clone your site.
Once the cloning process is complete, you’ll receive a link to your new staging site. It’s that simple!
Manual Duplication
For those who prefer a hands-on approach, here’s how to manually duplicate your site:
- Create a subdomain (e.g., staging.yoursite.com) through your hosting control panel.
- Export your live site’s database using phpMyAdmin.
- Upload your WordPress files to the subdomain via FTP.
- Import the database into your new subdomain using phpMyAdmin.
- Edit the wp-config.php file to connect to the new database.
Make sure to update your site URL in the database to match the subdomain you’ve created.
Using Your Hosting Provider
Many hosting providers offer easy staging options. Here’s a quick guide:
| Hosting Provider | Staging Feature |
|---|---|
| Bluehost | One-click staging setup |
| SiteGround | Staging tool in dashboard |
| WP Engine | Automatic staging environment |
Simply access your hosting dashboard, locate the staging option, and follow the prompts.
Testing and Going Live
Once your staging site is set up, it’s time to test! Make your changes, install new plugins or themes, and check for any issues. Once you’re satisfied with the changes:
- Use your plugin’s option to push changes to the live site.
- If you did it manually, repeat the backup process and transfer files and database changes as needed.
With a staging site, you can ensure that your live site remains stable and functional, making updates a breeze!
How to Clone Your Live Site to Your Staging Environment
Cloning your live site to a staging environment is essential for testing changes without affecting your main website. Here’s a straightforward guide to help you through the process.
Before diving into the cloning process, ensure you have a reliable backup of your live site. You can use plugins such as UpdraftPlus or BackWPup to create a complete backup, including your database and files. Once you have a backup ready, follow these steps:
- Choose a Staging Solution: Decide whether you’ll use a plugin or your hosting provider’s built-in staging feature. Popular plugins include WP Staging and Duplicator.
- Install Your Chosen Tool: If you opt for a plugin, install it from the WordPress dashboard by navigating to Plugins > Add New.
- Clone Your Site: Follow the plugin instructions to create a copy of your live site. This usually involves selecting the components you want to replicate, like themes, plugins, and content.
- Set Up Your Staging Site: Once the cloning process is complete, access your staging site via the link provided by the plugin or hosting provider.
After cloning, it’s crucial to verify that everything works correctly on the staging site. Check for:
- Functionality: Test all features, forms, and links to ensure they function as expected.
- Design: Verify that your layout, images, and styles look just like they do on your live site.
- Performance: Use tools like GTmetrix or Pingdom to assess the speed and performance of your staging site.
Lastly, don’t forget to keep your staging site updated. It’s crucial to regularly sync it with your live site to ensure you’re testing the most current version. You can set a schedule for this, allowing you to work on new features or fixes in a controlled environment without the risk of disrupting your live site.
Here’s a quick comparison of some popular staging solutions:
| Plugin | Ease of Use | Cost |
|---|---|---|
| WP Staging | Very Easy | Free / Premium |
| Duplicator | Moderate | Free / Premium |
| Flywheel | Very Easy | Starts at $15/month |
By following these steps, you’ll have a fully functional staging site that mirrors your live site, allowing you to make and test changes with confidence.

Tips for Testing Changes Safely on Your Staging Site
Testing changes safely on your staging site can be a game-changer for maintaining the integrity of your live website. Here are some effective strategies to ensure your testing process is smooth and secure:
- Backup Before You Begin: Always create a full backup of your staging site before implementing any changes. This way, if anything goes wrong, you can easily revert to the previous version.
- Document Your Changes: Keep a record of what changes you make and why. This documentation can help you troubleshoot issues later on and understand the impact of your modifications.
- Test in Multiple Browsers: Ensure that your site looks and functions properly in different browsers and devices. Browsers can render your site differently, and testing across platforms can help catch bugs early.
- Use a Staging Plugin: Consider using a WordPress staging plugin that simplifies the process of pushing changes from staging to live. This can help minimize the risk of errors during deployment.
When testing features or updates, it’s also wise to engage in a user-friendly approach:
- Involve Team Members: Encourage collaboration by inviting team members to test the changes. Different perspectives can highlight potential issues you may not have noticed.
- Conduct A/B Testing: If you’re considering significant changes, try A/B testing variations to see which version performs better. This can guide your decisions on what to implement live.
Lastly, ensure you have a clear rollback plan in place:
| Situation | Rollback Action |
|---|---|
| Plugin Update Fails | Restore previous plugin version from backup |
| New Theme Causes Issues | Revert to the old theme set in settings |
| Custom Code Breaks Site | Remove or comment out the faulty code |
By following these tips, you can confidently test changes on your staging site, ensuring a seamless transition to your live website with minimal risk. Happy testing!
Best Practices for Managing Your Staging Site Effectively
Managing your staging site effectively is crucial for maintaining a seamless workflow and ensuring that your production site remains stable and secure. Here are some tips to keep your staging site organized and efficient:
- Regular Backups: Always back up your staging site before making significant changes. This ensures you can revert to a previous state if something goes wrong.
- Keep It Updated: Regularly update plugins, themes, and WordPress core on your staging site. This helps you catch compatibility issues before they affect your live site.
- Use Clear Naming Conventions: Label your staging site clearly to avoid confusion. For instance, use a name that reflects the version or features being tested.
- Limit Access: Restrict access to your staging site to only those who need it. This prevents unauthorized changes and ensures that your testing environment is secure.
- Document Changes: Keep a log of all changes made on your staging site. This can help in understanding what worked and what didn’t when you push changes to the live site.
It’s also beneficial to establish a routine for testing your changes. Here is a simple table that outlines a testing schedule you might consider:
| Testing Task | Frequency |
|---|---|
| Plugin Updates | After Each Update |
| Theme Changes | Weekly |
| Performance Testing | Monthly |
| Security Checks | Bi-Weekly |
once you’re ready to push changes live, ensure you conduct a final review. Here are a few key points to double-check:
- Compatibility: Check that new features work well with existing content.
- Performance: Ensure that loading times are acceptable and that there are no errors.
- SEO Considerations: Make sure that any new content is optimized for search engines.
By following these best practices, you can ensure that your staging site serves its purpose effectively, allowing for smoother updates and a more stable live environment.

Troubleshooting Common Issues in Your Staging Environment
Even the most seasoned developers encounter challenges in a staging environment. Here are some common issues you might face and effective ways to tackle them:
- Database Connection Errors: If you see a “database connection error,” double-check your
wp-config.php file. Make sure the database name, username, password, and host information are correct. - Site Not Reflecting Changes: Sometimes, changes made in staging don’t appear. Clear your cache, including your browser cache and any caching plugins, to ensure you’re viewing the most current version.
- Plugin or Theme Conflicts: If the site behaves unexpectedly, deactivate all plugins and switch to a default theme. Reactivate them one by one to identify the culprit.
- Permission Issues: Check your file permissions if you encounter issues uploading files. Generally, directories should be set to
755and files to644. - Server Configuration Problems: Ensure your staging server settings match those of your live environment. Check PHP versions, memory limits, and timeout settings.
If you’re still facing problems after trying these solutions, consider implementing a troubleshooting checklist:
| Issue | Possible Solution |
|---|---|
| Slow Performance | Optimize images and use caching solutions. |
| Broken Links | Use a link checker plugin to identify and fix. |
| Missing Files | Ensure files were copied correctly from live to staging. |
| HTTP Errors | Check .htaccess file for misconfigurations. |
Lastly, remember to always back up your staging site before making significant changes. This way, if something goes wrong, you can easily restore it to its previous state. A well-maintained backup can save you time and frustration, allowing you to focus on refining your site rather than troubleshooting issues.
By following these guidelines, you’ll be well-equipped to handle common problems in your staging environment, ensuring a smoother workflow as you develop and test upgrades for your WordPress site.
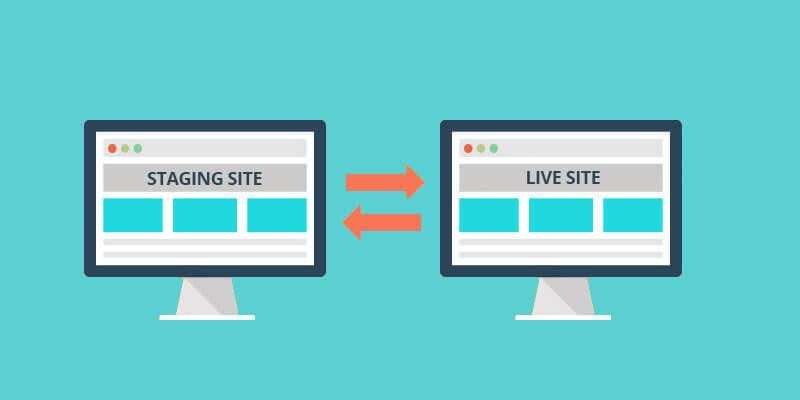
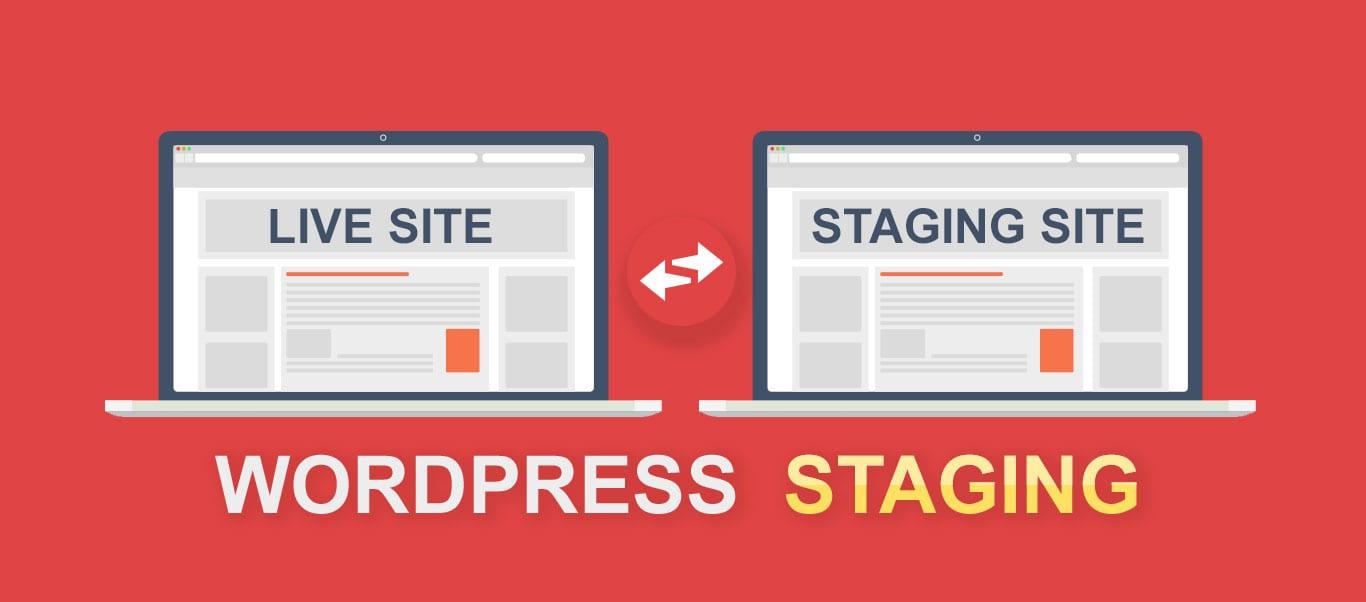
When and How to Push Changes from Staging to Live Site
When you’re ready to take your changes from the staging environment to your live site, timing and method are crucial. It’s essential to ensure that the transition is as seamless as possible while preventing any disruptions for your visitors. Here’s how to do it right.
First, you should perform a thorough review of your staging site. Make sure everything works as expected by checking:
- Functionality: Test all features and forms.
- Design: Ensure that layouts and styles appear correctly on various devices.
- Performance: Evaluate the loading speed and responsiveness.
- SEO Elements: Review titles, meta descriptions, and image alt tags for optimization.
Once you’re confident that your staging site is ready, it’s time to push your changes to the live site. Depending on your setup, you have several methods to do this:
- Manual Migration: This involves copying files and database entries manually. It’s more labor-intensive but gives you control.
- Plugin Solutions: Use plugins like WP Staging or Duplicator, which automate the migration process. They are user-friendly and reduce the risk of errors.
- Hosting Provider Tools: Some hosts offer built-in staging features that allow one-click pushes to live sites. Check with your provider!
Before you finalize the push, consider the following tips:
- Backup Everything: Always back up your live site before making changes, just in case something goes wrong.
- Turn Off Caching: Temporarily disable caching plugins to ensure that your changes are visible immediately.
- Schedule Off-Peak Times: Push the changes during low-traffic hours to minimize disruption.
After pushing the changes, you’ll want to perform a post-deployment check. This includes:
- Verifying that all features are functional.
- Ensuring that there are no broken links or missing images.
- Monitoring your site’s performance metrics for any unusual activity.
transitioning from staging to live isn’t just about pushing a button; it’s about careful planning and execution. With these steps, you’ll set yourself up for success and keep your visitors happy and engaged.

Keeping Your Staging Site Secure and Updated
Maintaining the security and functionality of your staging site is crucial for a smooth WordPress experience. Just like your live site, your staging environment can be a target for malicious activities, and you don’t want any vulnerabilities to affect your development process. Here are some key practices to keep your staging site secure and up-to-date:
- Use Strong Passwords: Ensure that you use complex passwords for both your WordPress admin and database access. A mix of upper and lower case letters, numbers, and symbols is recommended.
- Limit Access: Restrict access to your staging site. Consider using a password-protected directory or IP whitelisting so only authorized users can view the staging environment.
- Regular Updates: Keep your WordPress core, themes, and plugins updated to the latest versions. Outdated software can be a gateway for attacks.
- Backup Regularly: Schedule regular backups of your staging site. In the event of an issue, you’ll want to restore your site quickly without losing significant work.
- Implement SSL: Use SSL certificates on your staging site. This adds an extra layer of security by encrypting data transferred between your server and users.
In addition to these security measures, it’s also important to keep your staging site in sync with your live environment. This means regularly testing updates and changes on your staging site before they go live. Here’s a simple table to keep track of essential updates:
| Item | Last Updated | Status |
|---|---|---|
| WordPress Core | October 10, 2023 | Up to date |
| Theme | September 29, 2023 | Update available |
| Plugin: Yoast SEO | October 1, 2023 | Up to date |
| Plugin: WooCommerce | September 28, 2023 | Update available |
By setting a structured schedule for updates and security checks, you can ensure that your staging site remains a reliable reflection of your live environment. Remember, a well-maintained staging site not only helps in testing changes effectively but also protects your main site from potential issues that can arise during development.
Stay proactive and diligent in keeping your staging site secure and current, and watch how it enhances your WordPress workflow. With the right strategies in place, you can focus more on building great features and less on worrying about potential vulnerabilities.
Maximizing the Benefits of Your Staging Site for Future Projects
Once you’ve set up your staging site, the real magic begins. This platform isn’t just for testing; it’s a treasure trove for future projects. Let’s dive into how you can maximize its benefits.
First off, use your staging site to experiment. Whether you want to test new plugins or tweak your theme, doing it in a safe environment prevents unnecessary headaches on your live site. Remember, experimentation is key to innovation!
Next, consider documentation. As you make changes, take notes on what works and what doesn’t. This practice will help you refine your processes for future projects and keep your workflow smooth. Here’s a quick method to organize your findings:
| Experiment | Outcome | Recommendations |
|---|---|---|
| Plugin A Installation | Improved Speed | Use on Live Site |
| Theme B Customization | Visual Issues | Revise Custom CSS |
In addition, use your staging site for client previews. When you have a client project, presenting changes on a staging site allows for real-time feedback without disrupting the live site. It creates a smoother communication flow and enhances client satisfaction.
Don’t overlook the importance of training. If you have a team, use the staging site to educate them on new features and processes. Hands-on experience in a risk-free environment boosts confidence and efficiency, which can lead to better results on live sites.
consider your SEO strategy. Use your staging site to experiment with different SEO tactics. Test various meta descriptions, keywords, and content layouts to see what drives traffic before applying the most effective strategies to your live site.
Frequently Asked Questions (FAQ)
Q&A: Beginner’s Guide: How to Set Up a WordPress Staging Site
Q1: What is a WordPress staging site, and why do I need one?
A1: Great question! A WordPress staging site is essentially a clone of your live website where you can test changes, updates, or new features without affecting your actual site. Think of it as a dress rehearsal for your website. You’ll want one to avoid any mishaps that could lead to downtime or broken links on your live site. It’s all about keeping your audience happy while you play around behind the scenes!
Q2: Do I need technical skills to set up a staging site?
A2: Not at all! While some technical knowledge can be helpful, there are many user-friendly tools and plugins that make setting up a staging site a breeze, even for beginners. With clear instructions and a bit of guidance, you’ll find it’s easier than you think!
Q3: What are some popular methods to create a staging site?
A3: There are a few popular methods. You can use plugins like WP Staging or Duplicator, which simplify the process with just a few clicks. Some hosting providers also offer built-in staging features. If you choose one of these options, you’ll save time and minimize stress—perfect for beginners!
Q4: Will setting up a staging site affect my live site?
A4: Not at all! Your staging site is a separate environment. Any changes you make there won’t affect your live site until you decide to push those changes live. It’s like having a sandbox to play in without any risk!
Q5: How often should I use my staging site?
A5: It’s a good idea to use your staging site whenever you’re planning to make significant updates—like theme changes, plugin installations, or major content revisions. Regularly testing updates in a staging environment can save you from potential headaches down the line, so make it part of your routine!
Q6: What should I do after I finish testing on my staging site?
A6: Once you’re satisfied with your changes, it’s time to push them to your live site. Most staging plugins will have a feature that allows you to do this seamlessly. Just remember to double-check everything again before hitting that ‘live’ button!
Q7: What if I encounter issues on my staging site?
A7: No worries! Troubleshooting is part of the process. You can often find solutions online or reach out to support forums for help. It’s also a great opportunity to learn more about WordPress. Don’t let minor bumps in the road deter you—your confidence will grow as you tackle each challenge!
Q8: Is there any cost involved in setting up a staging site?
A8: It depends on the method you choose. There are free plugins that you can use, but some premium options offer more features and support. If your hosting provider includes staging in their plan, you might not have to pay anything extra. Always check what your current plan covers!
Q9: Can I use a staging site for non-WordPress sites?
A9: While this guide is focused on WordPress, the concept of a staging site applies to many types of websites. The methods may differ based on the platform you’re using, but the idea remains the same: test in a safe space before going live!
Q10: Ready to set up your staging site? Where do I start?
A10: Exciting times ahead! Start by choosing the method that suits you best—plugin or hosting feature. Then, follow the step-by-step instructions provided by your chosen tool. Take your time, and don’t hesitate to ask for help if you need it. You’ve got this!
By answering these common questions, we hope to make the process of setting up a WordPress staging site feel approachable and empowering. So why wait? Start creating your staging environment today and keep your live site running smoothly!
Final Thoughts
Wrapping Up Your WordPress Staging Site Journey
And there you have it! Setting up a WordPress staging site might seem daunting at first, but as we’ve explored together, it’s a straightforward process that can save you a world of headaches down the line. By creating a safe space to test your changes before going live, you’re not just protecting your website; you’re also giving yourself the freedom to experiment and innovate without fear.
Remember, every expert was once a beginner. So don’t hesitate to dive in and start experimenting with your staging site. Whether you’re tweaking themes, testing plugins, or making significant content changes, this practice can help ensure your site runs smoothly and efficiently.
If you found this guide helpful, share it with your fellow website owners! And don’t forget—if you have any questions or run into any snags along the way, the WordPress community is here to help. Happy staging, and here’s to creating a flawless website that wows your visitors!


New Providers
Enjoy The Speed Of Downloading & Uploading With 1GBPS Port
Affordable Dedicated Servers & Colocation Services. Services: Dedicated Servers Colocation Private Cabinet Colocation DDoS Protection
Up to 85% off hosting + website builder

Latest News
- 8+ Free Construction Templates and Page DesignsJuly 11, 2026 16
- How to Create a Graphic Design Portfolio That Gets HiresJuly 11, 2026 16
- Otter Blocks 3.2.0: AI Page Building and a New Design LibraryJuly 11, 2026 15
- 11 Best Web Hosting Services for Developers 2026July 11, 2026 19
- How to Create a Webshop: A Step-by-Step GuideJuly 10, 2026 21

We specialize in providing Web hosting reviews. Where you can search for potential hosts.